

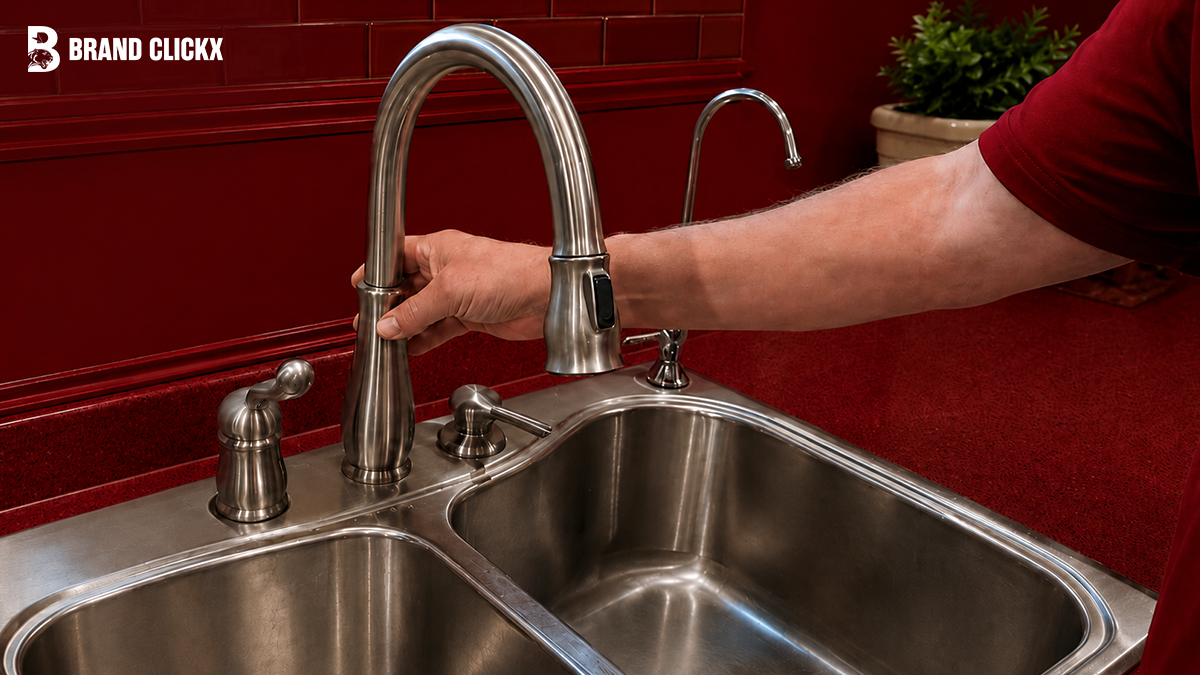
In many cases, how to replace faucet cartridge is the only repair you need to learn. A worn cartridge is one of the most common causes of leaks, stiff handles, inconsistent water temperature, and reduced water flow in modern faucets.
The good news is that replacing a faucet cartridge isn’t as difficult as many homeowners think. With the correct replacement part and a few basic tools, you can often complete the repair in less than an hour without calling a plumber.
According to the research, hiring a licensed plumber in 2026 typically costs between $175 and $450, while most replacement cartridges cost only $15 to $100. That makes this one of the highest-value DIY plumbing repairs you can perform.
Throughout this guide, you’ll learn how faucet cartridges work, how to identify the correct replacement, how to remove even a stuck cartridge safely, and how to avoid the mistakes that cause many first-time DIY repairs to fail.
AI Overview
Replacing a faucet cartridge is one of the easiest and most cost-effective ways to fix a leaking faucet without replacing the entire fixture.
Most homeowners can complete the repair in 20 to 45 minutes using basic hand tools and the correct replacement cartridge.
This guide explains how to replace a faucet cartridge step by step, how to identify the right cartridge, common mistakes to avoid, and what to do if your faucet still leaks after installation. You’ll also learn when a simple cartridge replacement is enough and when it’s better to replace the entire faucet.
Quick Repair Information
| Item | Details |
| Repair Time | 20–45 minutes |
| Difficulty | Moderate |
| DIY Cost | $15–$100 |
| Professional Cost | $175–$450 |
| Best For | Kitchen and bathroom cartridge faucets |
| Main Tools | Allen wrench, screwdriver, adjustable wrench, needle-nose pliers, plumber’s silicone grease |
A faucet that won’t stop dripping can quickly become frustrating. Besides the constant sound, even a slow leak wastes water and can increase your utility bill over time.
Key Takeaways
- A faulty faucet cartridge is one of the most common causes of dripping faucets and stiff handles.
- Most DIY cartridge replacements take between 20 and 45 minutes using common household tools.
- Replacement cartridges generally cost $15–$100, compared with $175–$450 for professional installation.
- Always identify your faucet brand and cartridge model before purchasing replacement parts.
- Cleaning mineral deposits inside the valve body helps prevent future leaks.
- Silicone plumber’s grease should be used only on rubber O-rings—not plumber’s putty.
- If the faucet body is cracked or heavily corroded, replacing the cartridge alone will not solve the problem.
How do you replace a faucet cartridge?
To replace a faucet cartridge, turn off the water supply, remove the faucet handle, take out the retaining clip or retaining nut, pull out the old cartridge, clean the valve body, install the new cartridge with lubricated O-rings, reassemble the faucet, restore the water supply, and test for leaks. Most homeowners can complete the repair in under an hour with basic tools.
What Is a Faucet Cartridge?
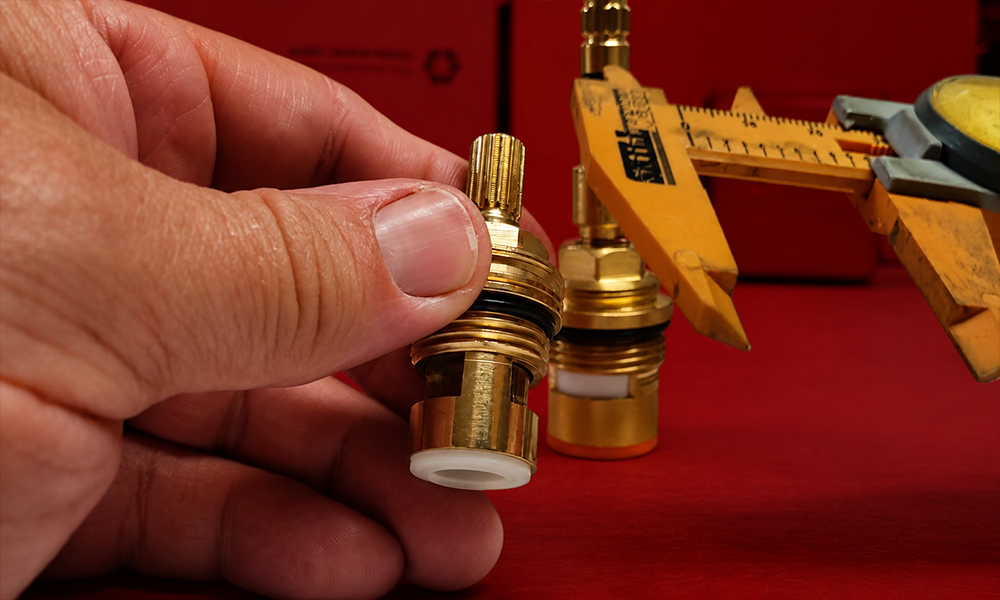
A faucet cartridge is the internal valve that controls water flow and, in most modern faucets, mixes hot and cold water. Every time you move the handle, the cartridge regulates both the amount of water and its temperature.
Unlike older compression faucets that relied on rubber washers, modern cartridge faucets use precision-engineered components for smoother operation, greater durability, and fewer leaks. Over time, however, worn seals, damaged ceramic discs, or mineral buildup can prevent the cartridge from shutting off completely, leading to drips, leaks, or reduced performance.
How Does a Faucet Cartridge Work?
Inside the faucet body, the cartridge contains internal channels that control the flow of hot and cold water. As you move the handle, these channels open, close, or mix water to deliver the desired pressure and temperature.
Most modern faucets use ceramic disc cartridges with two polished ceramic discs that slide smoothly against each other. Quality ceramic cartridges typically last 5–10 years under normal household use, while premium brass-reinforced models can last even longer with proper maintenance.
The Evolution of Faucet Cartridges
Today’s cartridge technology is the result of more than a century of plumbing innovation.
Faucet cartridge technology has evolved significantly over the years. Early compression faucets, introduced in the 1800s, relied on rubber washers that wore out quickly and required frequent replacement.
A major advancement came in 1947, when Al Moen introduced the single-handle mixing faucet, making water flow and temperature easier to control. Later, in 1980, Wolverine Brass patented the ceramic disc cartridge, which improved durability and reduced wear. Today, ceramic cartridges are the industry standard because they provide smooth operation and long-lasting performance.
Types of Faucet Cartridges
Not every cartridge works the same way. Understanding the differences helps you choose the correct replacement.
| Cartridge Type | Best Known For | Typical Lifespan |
| Ceramic Disc | Smooth operation and long durability | 5–10+ years |
| Sleeve/Piston | Common in many single-handle faucets | Long-lasting with maintenance |
| Compression Style | Older faucet designs | Shorter lifespan due to washer wear |
Ceramic cartridges are the most common option in modern kitchens and bathrooms because they resist friction far better than traditional rubber washer systems.
Why Faucet Cartridges Fail
Over time, normal wear, mineral buildup, and damaged seals can prevent the cartridge from closing completely. Common causes include:
- Hard water deposits
- Worn O-rings or seals
- Damaged ceramic discs
- Sediment inside the valve body
- Improper installation or years of regular use
If the faucet body is still in good condition, replacing the cartridge is usually the fastest and most affordable way to stop leaks and restore smooth operation without replacing the entire faucet.
Why Replacing the Cartridge Is Usually Better Than Replacing the Faucet
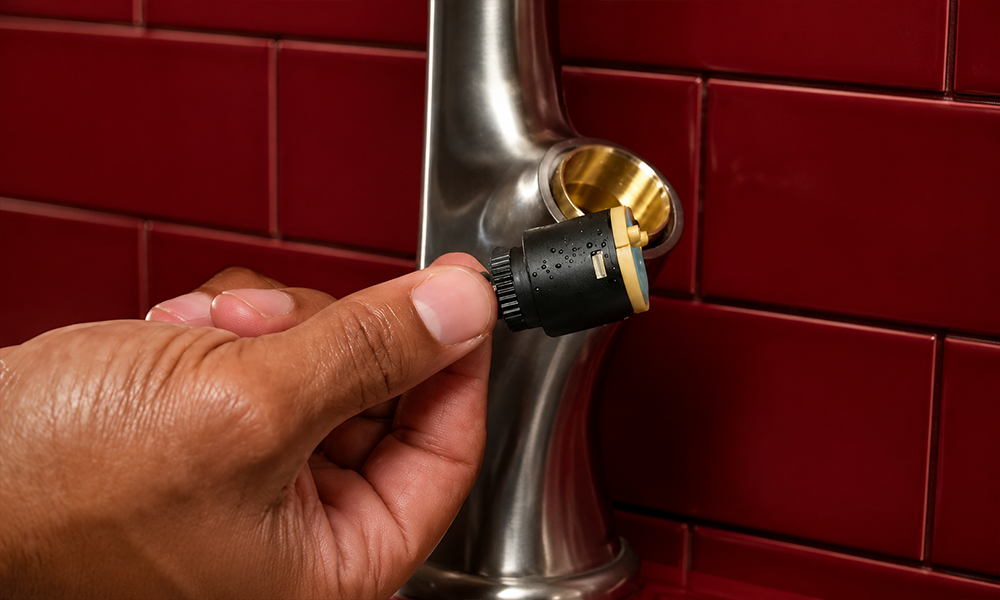
Many homeowners assume a leaking faucet means they need a completely new fixture.
In reality, replacing only the cartridge is often the smarter solution.
A quality kitchen or bathroom faucet can cost several hundred dollars, while a replacement cartridge usually costs a fraction of that price. The research also shows that replacing the cartridge helps prevent unnecessary water waste and protects cabinets, countertops, and flooring from long-term moisture damage.
If the faucet body is still in good condition, replacing the cartridge is typically the fastest, most economical repair.
Signs Your Faucet Cartridge Needs Replacement
Not every faucet leak means the cartridge has failed, but it’s one of the first components you should inspect. Recognizing the warning signs early can prevent wasted water and more expensive plumbing repairs.
Constant Dripping from the Spout
A faucet that continues dripping after you’ve turned it off is the most common symptom of a worn cartridge.
As internal seals and ceramic discs wear down, they can no longer create a watertight seal. Water slowly passes through, causing the familiar drip that many homeowners ignore for months.
According to the research, a faucet dripping 30 drops per minute wastes approximately 1,044 gallons of water each year. Replacing the cartridge can stop this unnecessary waste almost immediately.
Water Leaking Around the Handle
If water appears around the base of the handle while the faucet is running, the cartridge’s O-rings may have worn out.
Replacing the cartridge often solves this issue because new cartridges include fresh sealing surfaces that prevent water from escaping around the stem.
Handle Feels Stiff or Hard to Turn
A handle that suddenly becomes difficult to move usually indicates mineral buildup inside the cartridge.
Hard water deposits create friction between internal moving parts, making the faucet feel rough instead of smooth. In some cases, cleaning the cartridge helps, but replacement is often the longer-lasting solution.
Inconsistent Water Temperature
Single-handle faucets depend on the cartridge to mix hot and cold water accurately.
If the water suddenly changes temperature or becomes difficult to adjust, the cartridge may no longer align its internal ports correctly.
Reduced Water Flow
Lower water pressure isn’t always caused by clogged aerators.
Sediment, damaged seals, or internal cartridge wear can restrict water movement and reduce flow from the faucet.
Before replacing the entire faucet, inspect both the aerator and the cartridge.
Strange Grinding or Squeaking Sounds
A healthy cartridge should operate smoothly.
Grinding, squeaking, or scraping noises often indicate excessive friction caused by worn ceramic discs, damaged seals, or mineral deposits inside the valve.
Before You Start
Preparing properly makes the repair easier and helps prevent damage to your faucet.
Tools You’ll Need
Gather these tools before disassembling the faucet.
| Tool | Purpose |
| Allen wrench | Removes handle set screw |
| Phillips screwdriver | Removes handle screws |
| Flathead screwdriver | Lifts decorative caps |
| Adjustable wrench | Removes retaining nut |
| Needle-nose pliers | Pulls retaining clip |
| Cartridge puller | Removes seized cartridges safely |
| Plumber’s silicone grease | Lubricates O-rings |
| White vinegar | Removes mineral deposits |
| Small nylon brush | Cleans valve body |
Having everything nearby prevents unnecessary interruptions once the water supply has been turned off.
Materials Required
Besides the tools, you’ll need:
- The correct replacement faucet cartridge
- Replacement O-rings if required
- A clean towel
- A small container for screws and clips
Before You Start Checklist
Complete these simple steps before taking the faucet apart.
- Turn off the hot and cold water supply valves.
- Open the faucet to release any remaining pressure.
- Plug the sink drain so small parts can’t fall into it.
- Place a towel in the sink to protect the finish.
- Take a photo of the faucet before disassembly.
- Verify that the replacement cartridge matches the original.
This last step is especially important because many cartridges look almost identical while having different dimensions or stem designs.
Identify Your Faucet Before Replacing the Cartridge
One of the biggest reasons DIY repairs fail is purchasing the wrong replacement cartridge.
Taking a few minutes to identify your faucet can save hours of frustration later.
Single-Handle Faucets
Most modern kitchen and bathroom faucets use a single handle to control both water flow and temperature.
These faucets almost always rely on a cartridge, making replacement relatively straightforward.
Double-Handle Faucets
Double-handle faucets often use separate cartridges for hot and cold water.
If only one side leaks, you usually need to replace only that cartridge.
Cartridge vs. Other Faucet Types
Not every faucet uses a cartridge.
| Faucet Type | Main Feature | Repair Method |
| Cartridge | Single or double handle with replaceable cartridge | Replace cartridge |
| Ceramic Disc | Uses polished ceramic discs | Replace ceramic cartridge |
| Ball Faucet | Rotating ball mechanism | Replace ball assembly or seals |
| Compression | Rubber washer and threaded stem | Replace washer or stem |
Identifying the faucet correctly ensures you’re repairing the right component instead of replacing parts unnecessarily.
How to Identify the Faucet Brand
Most manufacturers place the model information in one of these locations:
- Under the sink near the supply lines
- On the original installation manual
- Printed on a product label
- Inside the faucet packaging if you still have it
Major brands such as Moen, Delta, Kohler, and Pfister also provide online identification tools that help homeowners match replacement cartridges more accurately.
The research data notes that manufacturers have introduced improved digital identification systems to simplify this process and reduce incorrect purchases.
How to Choose the Correct Replacement Cartridge
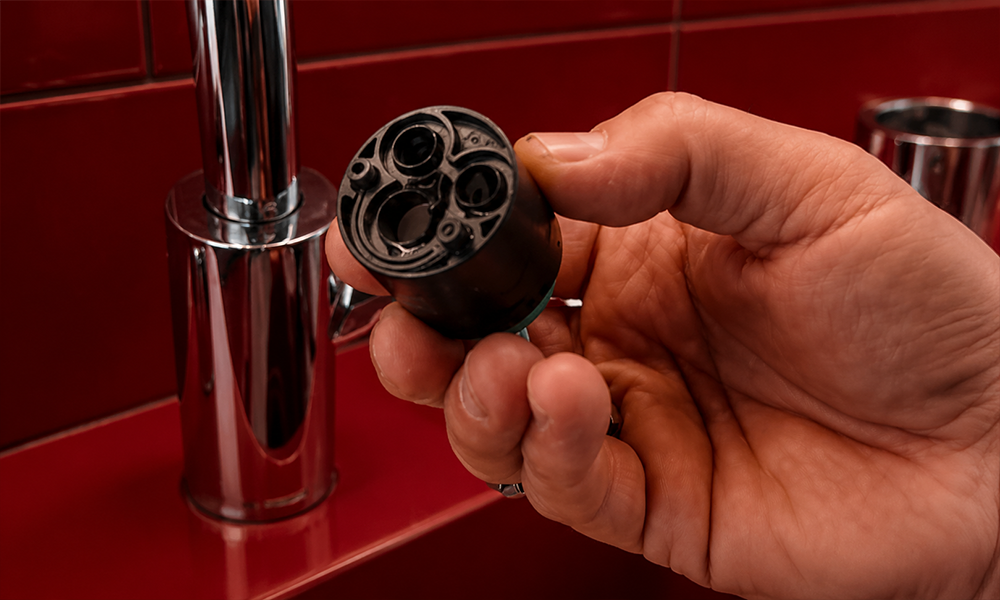
Choosing the wrong cartridge is one of the most common DIY mistakes.
Many replacement parts appear identical but differ in length, diameter, spline count, or tab placement.
Match the Existing Cartridge
Remove the old cartridge and compare:
- Overall length
- Diameter
- Number of splines
- Stem shape
- Alignment tabs
Even small differences can prevent proper installation.
OEM vs. Aftermarket Cartridges
Both options can work well, but each has advantages.
| OEM Cartridge | Aftermarket Cartridge |
| Manufactured by the original faucet brand | Manufactured by third-party companies |
| Exact factory fit | Often less expensive |
| Preserves manufacturer warranty | Widely available |
| Usually costs more | Quality varies by manufacturer |
The research highlights aftermarket manufacturers such as Danco and Lasco, which produce compatible replacement cartridges for many popular faucet brands.
If your faucet is still covered by a lifetime warranty, an OEM cartridge is usually the safer choice.
Common Mistakes to Avoid
A few simple mistakes can make faucet cartridge replacement more difficult or even cause leaks after installation. Keep these tips in mind before and during the repair.
- Turn off the water supply before taking the faucet apart.
- Buy the correct replacement cartridge by matching the model number or old cartridge, not just its appearance.
- Keep small parts like retaining clips and screws in a safe place.
- Use a cartridge puller for a stuck cartridge instead of forcing it with pliers.
- Clean the valve body before installing the new cartridge to remove dirt and mineral buildup.
- Apply silicone plumber’s grease to the O-rings instead of plumber’s putty or petroleum grease.
- Install the cartridge in the correct position and avoid overtightening the retaining nut.
- After reassembly, test both the hot and cold water and check carefully for leaks.
Taking a few extra minutes to prepare and follow these tips can help ensure a smooth installation and prevent most post-repair problems.
How to Replace a Faucet Cartridge: Step-by-Step Guide
Now that you have the correct replacement cartridge and the right tools, you’re ready to start. Follow these steps carefully to replace your faucet cartridge safely.
Step 1: Turn Off the Water Supply
Turn off the hot and cold water valves under the sink by turning them clockwise.
Next, turn on the faucet to drain any water left inside the pipes.
Tip: Make sure no water comes out before you continue.
Step 2: Remove the Faucet Handle
If your faucet has a decorative cap, gently remove it with a flathead screwdriver.
Use an Allen wrench or screwdriver to loosen the screw, then lift off the handle.
Tip: If the handle is stuck, gently wiggle it instead of pulling hard.
Step 3: Remove the Retaining Clip or Nut
Some faucets use a retaining clip, while others use a retaining nut to hold the cartridge in place.
Remove the clip with needle-nose pliers or loosen the nut with an adjustable wrench.
Keep these parts in a safe place because you’ll need them later.
Step 4: Remove the Old Cartridge
Grip the cartridge and pull it straight out.
If it’s stuck, gently twist it while pulling.
For stubborn cartridges, use a cartridge puller instead of forcing it with pliers. This helps prevent damage to the faucet.
Step 5: Clean the Faucet Body
Before installing the new cartridge, clean the inside of the faucet.
Use a soft brush and white vinegar to remove dirt, mineral buildup, and debris.
A clean valve body helps prevent future leaks.
Step 6: Prepare the New Cartridge
Apply a thin layer of silicone plumber’s grease to the rubber O-rings.
This makes installation easier and helps protect the seals.
Don’t use petroleum grease, as it can damage the rubber.
Step 7: Install the New Cartridge
Line up the cartridge with the slots inside the faucet.
Push it straight into place until it fits securely.
If it doesn’t slide in easily, remove it and check the alignment before trying again.
Step 8: Reinstall the Retaining Clip or Nut
Put the retaining clip or nut back in place to secure the cartridge.
Tighten it firmly, but don’t overtighten it, as this could damage the faucet.
Step 9: Reattach the Faucet Handle
Place the handle back onto the cartridge stem.
Tighten the screw and replace the decorative cap if your faucet has one.
Move the handle a few times to make sure it works smoothly.
Step 10: Turn the Water Back On
Slowly open the shut-off valves under the sink.
Run both hot and cold water for a minute to flush out any debris.
Step 11: Check for Leaks
Turn the faucet on and off several times.
Check around the handle, spout, and under the sink for leaks.
If everything is dry and the faucet works smoothly, you’ve successfully replaced the faucet cartridge.
Troubleshooting Common Problems
Sometimes replacing the cartridge doesn’t solve the issue immediately. Here’s how to identify the most common problems.
| Problem | Possible Cause | Solution |
| Faucet still drips | Cartridge not seated correctly | Remove and reinstall the cartridge |
| Leak around handle | Damaged or dry O-rings | Replace O-rings and apply silicone grease |
| Low water pressure | Debris inside faucet | Flush the faucet and clean the aerator |
| Handle difficult to turn | Cartridge installed incorrectly | Check alignment and reinstall |
| Hot and cold reversed | Cartridge installed backward | Rotate the cartridge 180 degrees if your model allows |
DIY or Hire a Plumber?
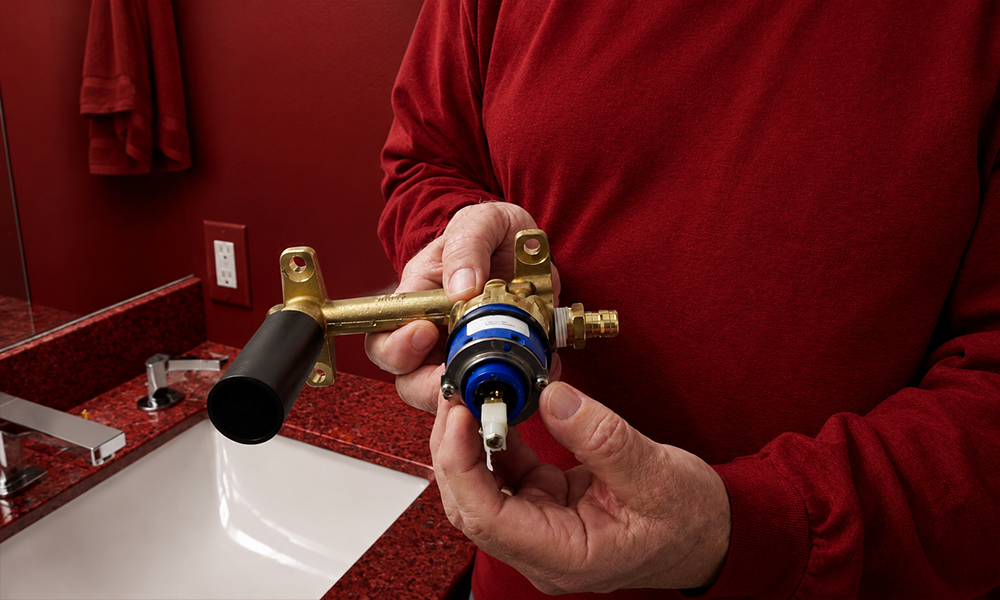
Replacing a faucet cartridge is well within the abilities of many homeowners, but not every situation is suitable for DIY repair.
DIY Is a Good Choice If:
- The leak comes from the faucet itself.
- You have access to the shut-off valves.
- The cartridge can be identified correctly.
- You own basic hand tools.
- The faucet body is in good condition.
Hire a Professional If:
- The valve body is cracked or badly corroded.
- Water is leaking inside the wall.
- Pipes were damaged during removal.
- The cartridge cannot be removed safely.
- Your faucet warranty requires professional servicing.
According to the research, hiring a licensed plumber generally costs $175–$450, while a DIY replacement usually requires only the cost of the replacement cartridge, typically $15–$100.
For most homeowners, replacing the cartridge themselves offers significant savings while extending the life of an otherwise perfectly good faucet.
Brand-Specific Faucet Cartridge Tips
Although the replacement process is similar across most faucets, a few brands have unique cartridge designs that are worth knowing before you begin.
Moen
Moen faucets are among the easiest to service, but older models often develop mineral buildup around the cartridge.
Many Moen faucets use cartridges such as the 1225 or 1222 series. If the cartridge is seized, using a dedicated cartridge puller is much safer than twisting it with pliers.
One advantage of Moen is its lifetime warranty for eligible original homeowners, so check your warranty before purchasing a replacement cartridge.
Delta
Delta faucets commonly use ceramic cartridges with Diamond Seal Technology.
According to the research, these cartridges use diamond-embedded ceramic discs that continuously polish themselves during operation, helping reduce wear and mineral buildup.
Always verify the exact cartridge model because many Delta cartridges look similar but are not interchangeable.
Kohler
Kohler cartridges are engineered with precision ceramic components that provide smooth operation.
When replacing one, make sure the cartridge is fully seated before tightening the retaining nut, as improper alignment can affect handle movement.
Pfister
Pfister cartridges are widely available and generally affordable.
Even so, confirm the model number before purchasing, since stem length and tab positions can vary between faucet series.
Keep Your Faucet Cartridge Working Longer
A little maintenance can significantly extend the life of your new cartridge.
| Maintenance Task | Recommended Frequency |
| Clean faucet aerator | Every 6 months |
| Inspect for leaks | Every 6 months |
| Remove mineral deposits | Once a year |
| Lubricate O-rings during service | As needed |
| Inspect cartridge condition | Every 3–5 years |
The research data also shows that hard water is the leading cause of premature cartridge failure. In homes with mineral-rich water, regular cleaning can make a noticeable difference.
Repair or Replace the Entire Faucet?
Sometimes replacing the cartridge is the best solution. Other times, replacing the entire faucet makes more sense.
| Replace the Cartridge | Replace the Entire Faucet |
| Faucet body is in good condition | Valve body is cracked |
| Leak comes from the cartridge | Severe corrosion inside the faucet |
| Handle still operates normally | Multiple internal components have failed |
| You want the most affordable repair | You’re upgrading an outdated fixture |
If the faucet itself is structurally sound, replacing the cartridge is usually the most economical option.
Conclusion
That small drip you noticed at the beginning probably seemed like a minor annoyance. In reality, it was your faucet telling you that one of its most important components had reached the end of its service life.
Learning how to replace faucet cartridge is a practical DIY skill that can save money, reduce water waste, and extend the life of an otherwise perfectly good faucet. Most repairs require only basic tools, careful preparation, and the correct replacement part.
Take your time, verify the cartridge model before installation, and never force components that don’t move easily. A patient repair almost always produces better results than a rushed one.
Sometimes the simplest home repairs provide the greatest sense of accomplishment, and replacing a faucet cartridge is one of those jobs.
Frequently Asked Questions
How do I know if my faucet needs a new cartridge?
A worn cartridge usually causes a constant drip from the spout, water leaking around the handle, a stiff operating handle, or inconsistent water temperature.
If cleaning the aerator doesn’t improve performance and the faucet body is in good condition, replacing the cartridge is often the next logical step.
Can I replace a faucet cartridge myself?
Yes. Most homeowners with basic tools can replace a faucet cartridge in about 20 to 45 minutes.
The key is purchasing the correct replacement cartridge and working carefully during disassembly and reassembly.
Why is my faucet still leaking after replacing the cartridge?
The cartridge may not be fully seated, the valve body may still contain debris, or an O-ring could have been damaged during installation.
If the faucet body itself is cracked or heavily worn, replacing the cartridge alone may not stop the leak.
Do I need a special cartridge puller?
Not always.
Many cartridges can be removed with ordinary hand tools. However, older faucets affected by heavy mineral buildup are much easier and safer to repair using a dedicated cartridge puller.
Can I clean a cartridge instead of replacing it?
Sometimes.
If mineral deposits are causing stiffness but the cartridge isn’t cracked or worn, soaking it in white vinegar and applying fresh silicone grease may restore smooth operation.
If the seals or ceramic discs are damaged, replacement is the better long-term solution.
How long does a faucet cartridge last?
According to the research, modern ceramic cartridges are designed for approximately 500,000 operating cycles, which typically equals 5 to 10 years of normal residential use.
Premium cartridges may last even longer when used with clean, low-mineral water.