

Quick Answer
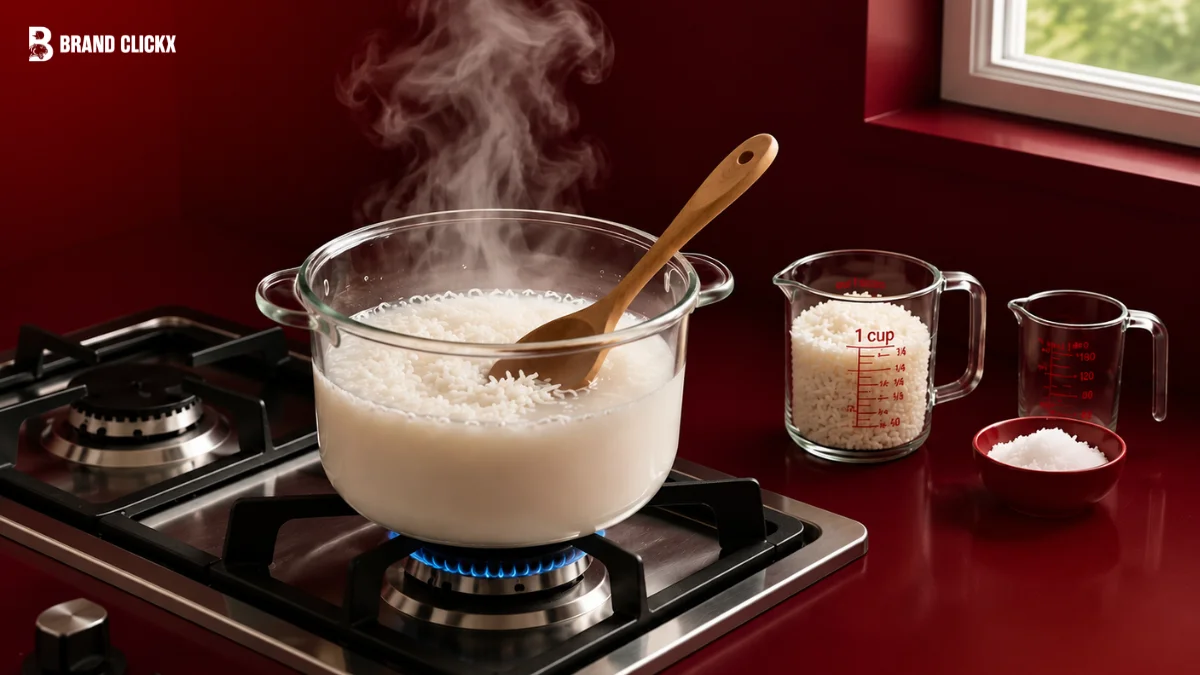
To cook rice on the stove, rinse the rice until the water runs mostly clear. Add the correct amount of water, bring it to a boil, reduce the heat to low, cover the pot with a tight-fitting lid, and let it simmer until the water is absorbed. Remove the pot from the heat and let the rice rest for about 10 minutes before fluffing it gently with a fork.
Why Cook Rice on the Stove?
Cooking rice on the stove gives you complete control over the cooking process. It doesn’t require special appliances, and it works well for nearly every type of rice.
Many professional chefs still prefer the stovetop method because it allows them to adjust the heat and texture based on the type of rice they are preparing. Once you understand the basics, you’ll be able to cook perfect rice with confidence.
Some benefits include:
- No rice cooker required
- Budget-friendly
- Works with almost every rice variety
- Easy to cook large or small portions
- Better control over texture
What You’ll Need
The recipe is simple because only a few basic kitchen items are required.
| Ingredient | Amount |
|---|---|
| White rice | 1 cup |
| Water | 2 cups (for most long-grain white rice) |
| Salt | Optional |
| Butter or oil | Optional |
Kitchen Equipment
| Equipment | Purpose |
|---|---|
| Medium saucepan | Cooking rice evenly |
| Tight-fitting lid | Traps steam |
| Measuring cups | Accurate ratios |
| Fork | Fluffing cooked rice |
Understanding Different Types of Rice
Not all rice cooks the same way. The amount of water and cooking time depend on the variety you choose.
Long-Grain White Rice
Long-grain rice stays light and fluffy after cooking. It is commonly served with curries, grilled chicken, stir-fries, and vegetable dishes.
Examples include:
- Jasmine rice
- Basmati rice
- American long-grain rice
Medium-Grain Rice
Medium-grain rice has a softer texture and becomes slightly sticky when cooked. It works well in casseroles and everyday meals.
Short-Grain Rice
Short-grain rice is naturally stickier because it contains more starch. It is often used for sushi and certain Asian dishes where the grains need to hold together.
Brown Rice
Brown rice keeps its bran layer, making it higher in fiber than white rice. Because of this outer layer, it needs more water and a longer cooking time.
Rice-to-Water Ratio Chart
Using the correct amount of water is one of the biggest secrets to perfectly cooked rice.
| Rice Type | Rice | Water | Cooking Time |
|---|---|---|---|
| Long-grain white rice | 1 cup | 2 cups | 18–20 minutes |
| Basmati rice | 1 cup | 1½–1¾ cups | 15–18 minutes |
| Jasmine rice | 1 cup | 1½ cups | 15–18 minutes |
| Brown rice | 1 cup | 2¼–2½ cups | 40–45 minutes |
| Short-grain rice | 1 cup | 1¼–1½ cups | 18–20 minutes |
Always check the package instructions as different brands may recommend slightly different ratios.
Step-by-Step Guide to Cooking Rice on the Stove
Step 1: Measure the Rice
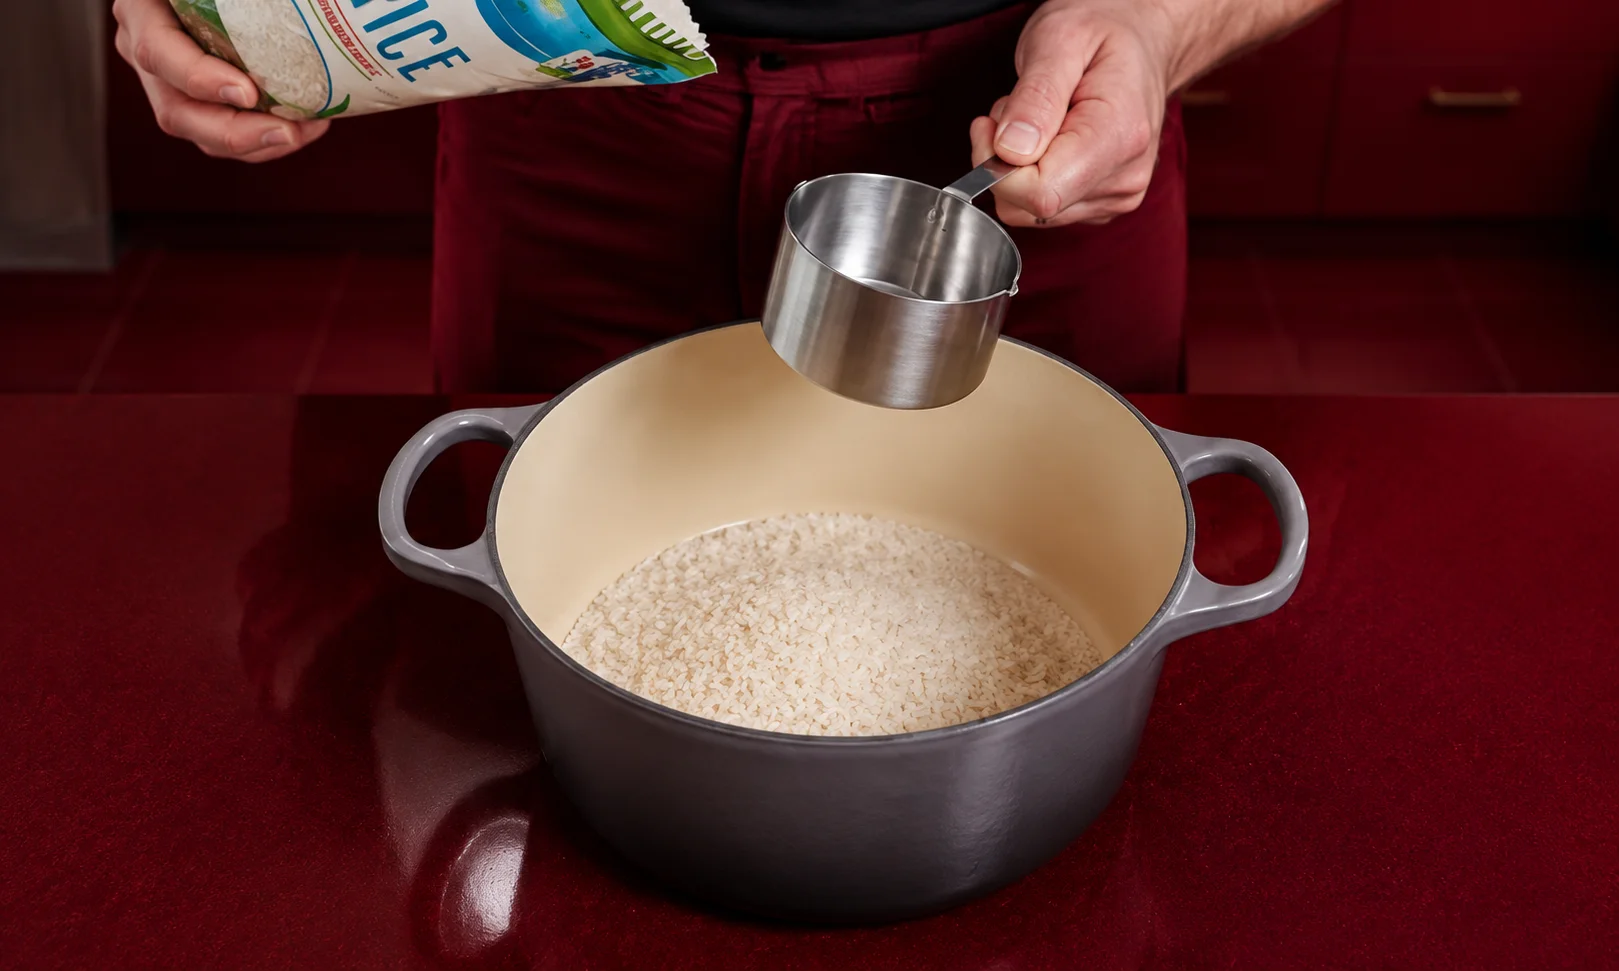
Start by measuring the amount of rice you need. One cup of uncooked rice usually makes about three cups of cooked rice, which is enough for around three to four servings.
Measuring accurately helps keep the rice-to-water ratio consistent and prevents soggy or dry results.
Step 2: Rinse the Rice
Place the rice in a bowl or fine-mesh strainer and rinse it under cold running water.
Swirl the grains gently with your hand until the water becomes mostly clear. This removes excess surface starch, which helps prevent the rice from becoming overly sticky.
Although rinsing isn’t mandatory for every recipe, it generally improves texture for long-grain white rice, basmati, and jasmine rice.
Step 3: Add Rice and Water to the Pot
Transfer the rinsed rice to a saucepan.
Pour in the correct amount of water based on the type of rice you’re cooking. If you’d like a little extra flavor, add a pinch of salt or a small amount of butter or cooking oil.
Avoid adding too much seasoning at this stage, especially if the rice will be served with flavorful dishes.
Step 4: Bring the Water to a Boil
Place the saucepan over medium-high heat without the lid.
Allow the water to come to a full rolling boil. You’ll notice bubbles covering the surface, and steam will rise steadily from the pot.
There’s no need to stir the rice repeatedly. Stirring too much can release extra starch and make the rice sticky.
Step 5: Reduce the Heat and Cover
Once the water reaches a rolling boil, immediately reduce the heat to the lowest setting.
Cover the pot with a tight-fitting lid to trap the steam inside. This gentle steam cooks the rice evenly without drying it out.
Resist the temptation to lift the lid during cooking. Every time you open the pot, valuable steam escapes, which can affect the final texture.
Step 6: Let the Rice Simmer
Allow the rice to cook quietly over low heat for the recommended time based on the variety you’re using.
You may hear a soft simmering sound during cooking, which is completely normal. As the rice cooks, it absorbs the water and gradually becomes tender.
If the heat is too high, the water may evaporate too quickly before the rice has finished cooking. Keeping the heat low helps achieve even results and prevents scorching on the bottom of the pan.
Step 7: Remove from Heat and Let It Rest
When the cooking time is complete and the water has been absorbed, remove the saucepan from the heat but keep the lid on.
Let the rice rest for about 10 minutes. This resting period allows the remaining steam to finish cooking the grains and helps them firm up, making the rice fluffier and less sticky.
How to Tell When Rice Is Done
It can be difficult to know when rice is ready, especially if you’re new to cooking. Fortunately, there are a few simple signs to look for.
The Water Is Fully Absorbed
The easiest sign is that you no longer see water at the bottom of the pot. The rice should look dry on the surface rather than wet or soupy.
The Grains Are Tender
Taste a small spoonful. The rice should be soft with a slight bite. If it feels hard in the center, add a tablespoon or two of hot water, cover the pot, and cook for another 2 to 5 minutes.
Steam Has Finished the Job
Even after removing the pot from the heat, the trapped steam continues cooking the rice. That’s why letting it rest before fluffing makes such a difference.
Tips for Perfect Fluffy Rice Every Time
A few small habits can improve your results every time you cook rice.
Use the Right Pot
A saucepan with a heavy bottom distributes heat more evenly and reduces the chance of burning the rice.
Keep the Lid Closed
Opening the lid releases steam, which can leave the rice unevenly cooked. Wait until the cooking time is complete before checking it.
Don’t Rush the Resting Time
Resting the rice for 10 minutes allows excess moisture to settle, giving each grain a lighter texture.
Fluff with a Fork
Use a fork instead of a spoon. It separates the grains gently without crushing them.
Adjust for Your Stove
Every stove heats a little differently. If your rice often burns, lower the heat slightly. If it’s consistently undercooked, add a few extra minutes next time.
White Rice vs Brown Rice
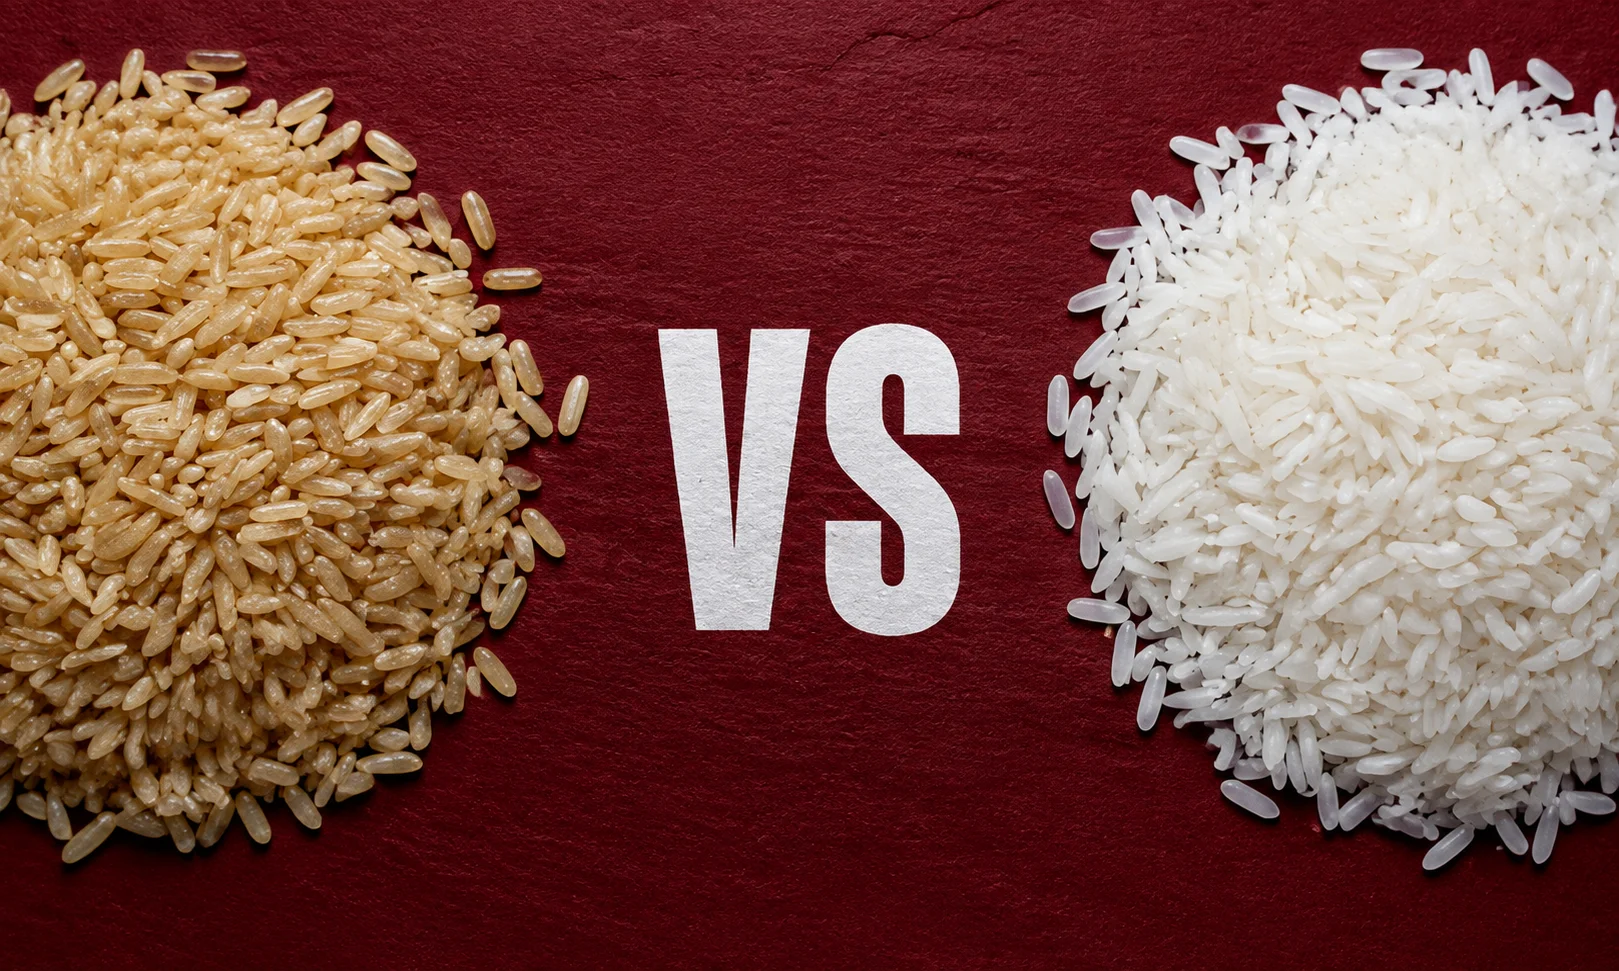
Different types of rice need different cooking methods. Here’s a quick comparison.
| Feature | White Rice | Brown Rice |
|---|---|---|
| Cooking Time | 18–20 minutes | 40–45 minutes |
| Water Needed | About 2 cups per cup of rice | About 2¼–2½ cups per cup of rice |
| Texture | Soft and fluffy | Chewy and firm |
| Fiber | Lower | Higher |
| Flavor | Mild | Slightly nutty |
| Best For | Everyday meals | Healthy bowls, salads, and meal prep |
Common Mistakes to Avoid
Even simple recipes can go wrong. Here are the most common mistakes and how to avoid them.
| Mistake | What Happens | Solution |
|---|---|---|
| Using too much water | Mushy rice | Measure carefully |
| Using too little water | Hard rice | Follow recommended ratios |
| Cooking on high heat | Burnt bottom | Simmer on low heat |
| Lifting the lid often | Uneven cooking | Keep the lid closed |
| Skipping the resting time | Sticky texture | Let it rest for 10 minutes |
| Stirring too much | Broken, gummy rice | Stir only once if needed |
Expert Tips
These simple techniques can make your rice taste even better.
Toast the Rice First
For a richer flavor, cook the rinsed rice in a little butter or oil for one to two minutes before adding water.
Cook with Broth
Replace water with vegetable or chicken broth for extra flavor. This works especially well for side dishes.
Add Aromatics
A bay leaf, garlic clove, or a few slices of fresh ginger can give the rice a subtle aroma without overpowering the meal.
Season After Cooking
Fresh herbs, lemon juice, or chopped cilantro are best added after the rice is cooked to keep their flavors bright.
How to Store Leftover Rice
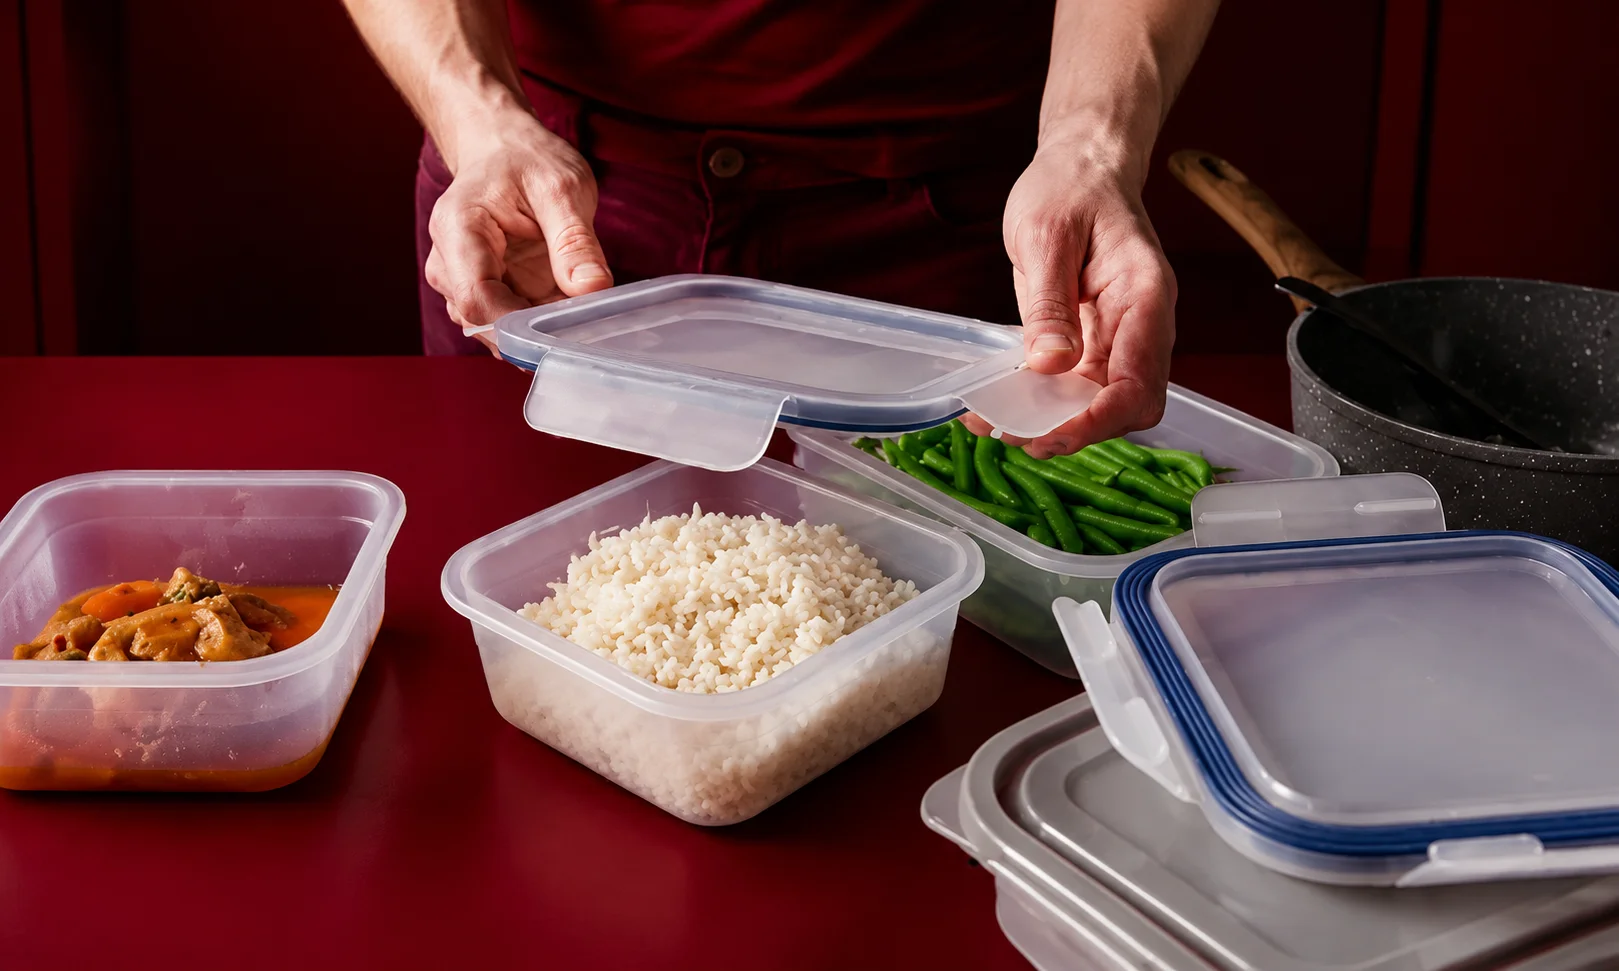
Proper storage keeps rice safe to eat and helps reduce food waste.
Allow the rice to cool slightly, then transfer it to an airtight container. Refrigerate it within two hours of cooking.
Cooked rice stays fresh in the refrigerator for up to four days.
For longer storage, freeze portions in freezer-safe containers or bags for up to three months.
How to Reheat Rice
The best way to reheat rice is by adding a little moisture.
Microwave
Place the rice in a microwave-safe bowl, sprinkle a tablespoon of water over it, cover loosely, and heat until hot.
Stovetop
Add a splash of water to a saucepan with the rice. Cover and warm it over low heat until heated through.
Avoid reheating the same batch multiple times, as the texture and quality will continue to decline.
Can You Cook Rice Without Rinsing?
Yes, you can. However, rinsing removes excess starch from the surface of the grains, which usually results in fluffier rice.
Some enriched rice products recommend skipping rinsing because it may wash away added nutrients. Always check the package instructions before cooking.
Frequently Asked Questions
Should I rinse rice before cooking?
Yes, for most long-grain white rice, jasmine rice, and basmati rice, rinsing helps remove excess starch and creates a fluffier texture.
Can I cook rice without a lid?
A tight-fitting lid is strongly recommended because it traps the steam needed for even cooking. Without one, the rice may cook unevenly or dry out.
Why is my rice sticky?
Sticky rice is often caused by too much water, stirring too frequently, or not rinsing the rice before cooking.
Why is my rice hard?
Hard rice usually means it needs more water or more cooking time. Add a small amount of hot water and continue cooking over low heat.
Can I add butter or oil?
Yes. A small amount of butter or oil can improve flavor and help keep the grains separate.
How much cooked rice does one cup make?
One cup of uncooked rice generally produces about three cups of cooked rice, depending on the variety.
Simple Rice Cooking Checklist
Use this checklist every time you cook rice.
- Measure the rice accurately
- Rinse the rice if appropriate
- Use the correct water ratio
- Bring the water to a boil
- Reduce the heat to low
- Cover the pot tightly
- Avoid lifting the lid
- Let the rice rest for 10 minutes
- Fluff gently with a fork
- Serve and enjoy
Conclusion
Learning how to cook rice on the stove is a skill that pays off every time you step into the kitchen. With the right rice-to-water ratio, gentle simmering, and a short resting period, you can consistently make rice that is soft, fluffy, and full of flavor.
Don’t worry if your first attempt isn’t perfect. Small adjustments to the water, heat, or cooking time can make a big difference, and you’ll quickly find the method that works best with your stove and your favorite type of rice.
At BrandClickX, we believe that clear, practical cooking advice helps everyone feel more confident in the kitchen. Keep this guide handy, practice the steps, and you’ll be able to prepare perfect stovetop rice for everyday meals with ease.