
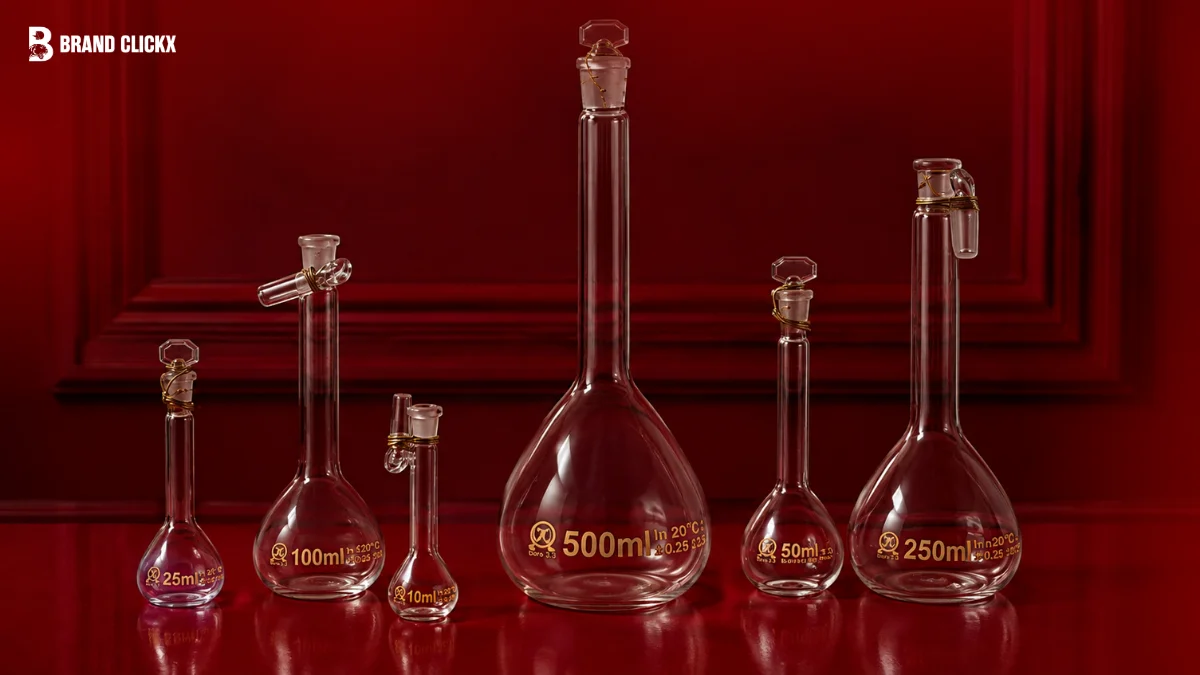
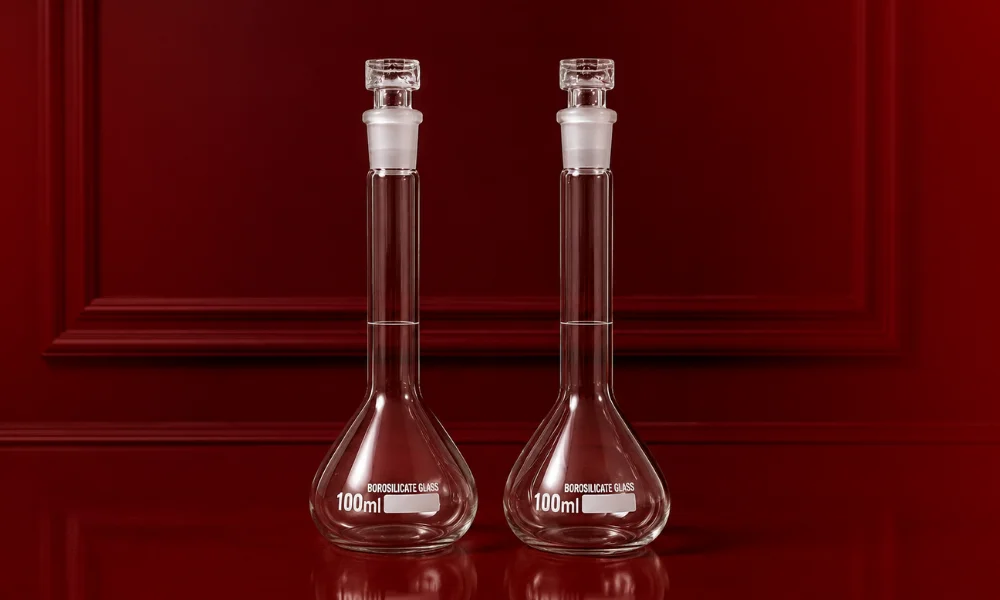
A volumetric measuring flask is basically a lab container built to hold one exact volume of liquid, nothing approximate about it. Round body, long thin neck, and right on that neck there’s a thin etched line, the calibration mark, which tells you exactly how much the flask holds when filled to that point.
You’ll run into common sizes like 50 mL, 100 mL, 250 mL, 500 mL, and 1,000 mL, but that’s nowhere near the full list.
Reach for one whenever precision’s actually the goal; that’s the whole point of it existing. A beaker or Erlenmeyer will get you in the ballpark, sure, but ballpark and accurate aren’t the same thing, and in a lab that gap matters way more than it sounds like it should.
Quick Answer
Honestly, if the volume’s got to be spot on, that’s a volumetric flask’s whole reason for existing; standard solutions, dilutions, buffers, whatever it is, one careless pour and the results are junk.
Key Takeaways
- A volumetric flask’s built for exactly one job, holding a solution at one precise volume, nothing more.
- Look at it and you’ll spot a large round body, a narrow neck, and a thin calibration line etched right onto that neck, marking the exact fill point.
- You’ll mostly see these used for standard solutions and dilutions, since that’s really where the accuracy actually matters.
- Reading it right takes a bit of technique too; get your eye level with the meniscus, not above or below it, or the reading’s off before you’ve even started.
- Temperature plays into it as well; most flasks are calibrated at 20°C, so that’s the baseline they’re accurate to.
- Not all flasks are built the same either. Class A comes with tighter accuracy tolerances than Class B, worth knowing which one you’re actually working with.
- Material varies too; glass is the classic choice, but plastic versions exist and get used plenty.
- If you’re dealing with something light-sensitive, grab an amber flask instead; the tinted glass blocks out the light that would otherwise mess with your solution.
- Don’t heat these, honestly; just don’t. That’s not what they’re built for, and once you push it that way, the calibration can go off for good no bringing it back after that.
- Look after it, clean properly, and handle it with a bit of care, and it’ll stay accurate for years without much fuss. Get careless a couple times though, and accuracy’s usually the first thing that quietly disappears.
What Does a Volumetric Flask Look Like?
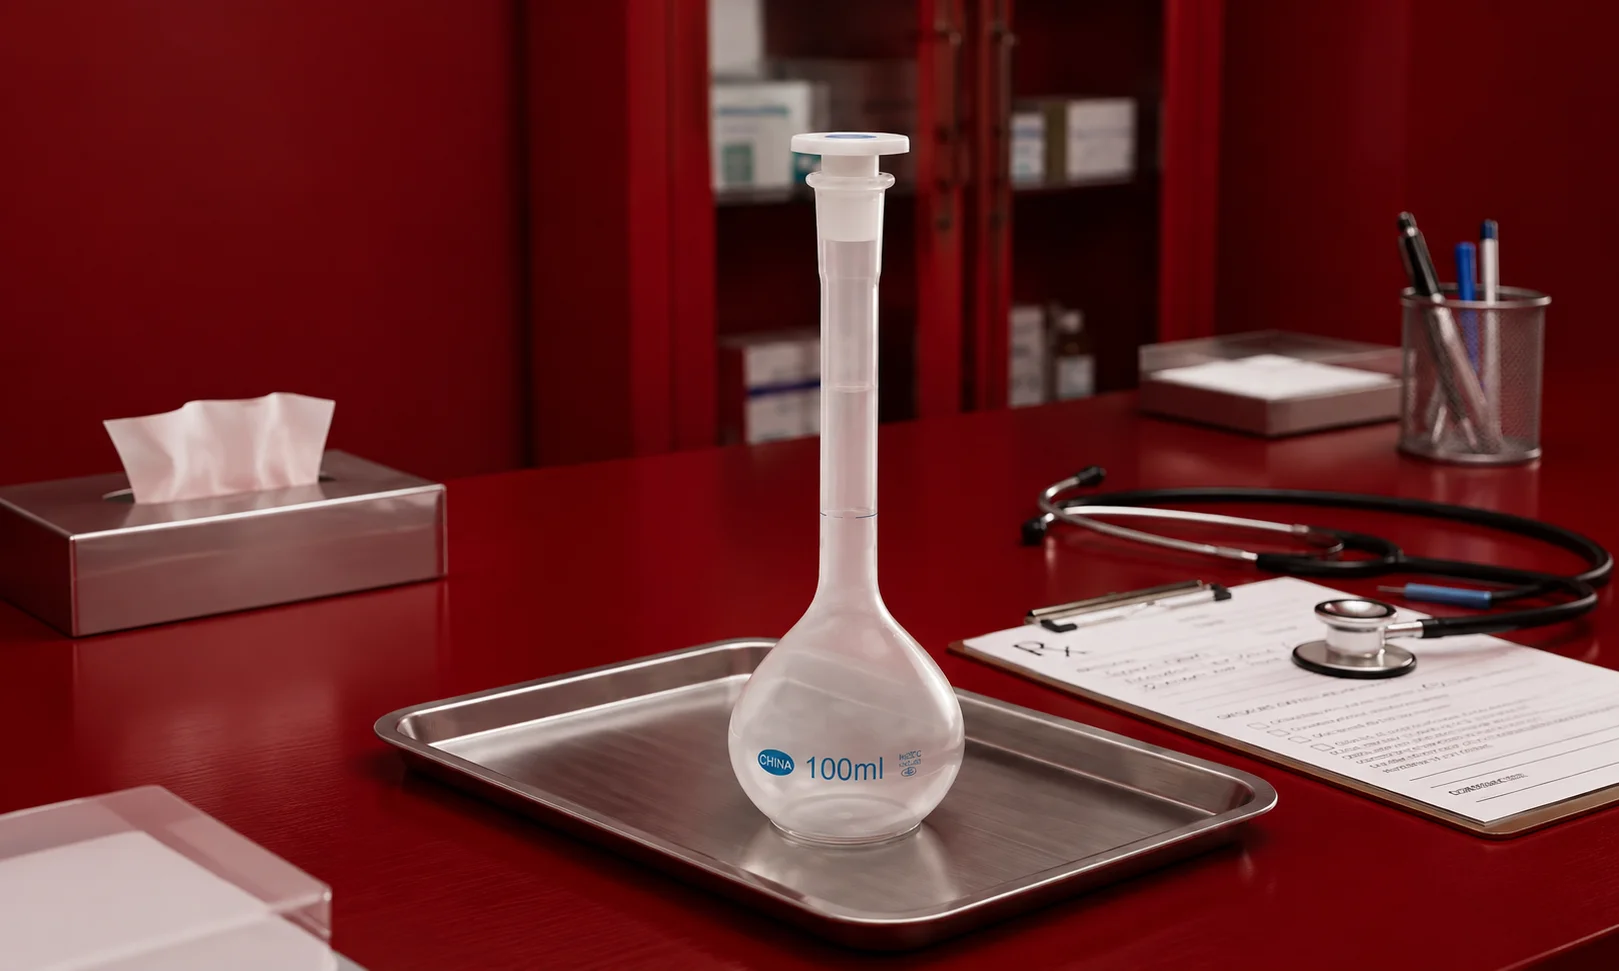
A volumetric flask has a simple design.
It usually has:
- A large round body
- A long, narrow neck
- One calibration line
- A flat base
- A stopper
The body gives enough space for the liquid and allows the solution to be mixed. The narrow neck makes it easier to see the liquid level.
Parts of a Volumetric Flask
Each part of the flask has a simple purpose.
1. Body
The body is the large lower part of the flask. It holds most of the liquid. Its shape also gives you enough space to mix the solution.
2. Narrow Neck
The neck is long and thin. This makes the liquid level easier to see. It also helps you add liquid slowly when you are close to the calibration line.
3. Calibration Mark
The calibration mark is a single line on the neck. This line shows the correct level for the flask’s stated volume. For example, on a 250 mL volumetric flask, the liquid should reach the calibration mark when you are preparing 250 mL of solution.
4. Stopper
Many volumetric flasks come with a stopper. The stopper helps keep the solution inside the flask. It also allows you to gently turn the flask upside down to mix the solution.
5. Base
The base allows the flask to stand on a laboratory table. Most common volumetric flasks have a flat base.
What’s a Volumetric Flask Actually Made Of?
Two options mostly, glass or plastic, and which one you grab depends on what you’re doing.
Glass is the lab standard, and most of the good ones are borosilicate glass specifically, which handles chemicals well and doesn’t crack the second the temperature shifts, unlike regular glass. Clear glass also means you can actually see the liquid properly and read the meniscus without squinting.
Plastic’s the other option. Lighter, won’t shatter if you drop it, which is genuinely useful in fieldwork or anywhere breakage is a real risk. Just don’t grab one blindly; check that the plastic actually holds up against whatever chemical you’re using. Some plastics react or degrade with certain solutions, and that’s not something you want finding out the hard way.
Why Is a Volumetric Flask Accurate?
A volumetric flask is designed for accurate preparation of one specific volume. It has several features that help with this:
- One calibration line: It is made for a specific volume.
- Narrow neck: It makes the liquid level easier to read.
- Clear material: It allows you to see the liquid.
- Careful calibration: Quality laboratory flasks are made to meet specific accuracy requirements.
Temperature messes with liquid volume too, more than people expect. Most volumetric flasks are calibrated at 20°C, so whatever the flask and lab procedure say, that’s what you follow, not a guess.
What Is a Meniscus?
That curve you see at the top of a liquid, where it dips or bulges slightly, is the meniscus. With water-based solutions in a volumetric flask, you’re reading the bottom of that curve, and your eyes need to be dead level with the calibration mark when you do it. Look from above or below even a little, and the reading’s off.
What Are Volumetric Flask Accuracy Classes?
Volumetric flasks can have different accuracy classes. The two common classes are:
Class A
Class A flasks have tighter accuracy limits. They are often chosen for work where accurate measurements are important.
Class B
Class B flasks have wider accuracy limits than Class A. They may be suitable for less demanding laboratory work. Always check the manufacturer’s information when accuracy is important.
What Is a Volumetric Flask Used For?
Comes up in a handful of common lab jobs, really.
Making standard solutions. This is probably the big one. Dissolve a measured amount of whatever substance, top it up to the flask’s calibration mark, and you end up with a solution where the concentration’s actually known, not estimated.
Diluting stock solutions. Got something too concentrated to use as-is? Measure out some of that stock, drop it in the flask, then add solvent until it hits the mark. That’s basically how you water down a strong solution properly.
Buffer solutions. The same idea applies here: mix the ingredients the procedure calls for, then bring the whole thing up to volume in the flask.
Chemical analysis. A lot of analysis work needs solutions at a known concentration to begin with, and that’s exactly what a volumetric flask is built to deliver.
Titration. Whatever solution you’re using in a titration often gets prepared this way first, making sure both the volume and concentration are actually right before you start.
Sample prep. Some procedures just call for diluting a sample down to one specific volume, and again, that’s the flask’s job whenever accuracy on the final volume actually matters.
How to Use a Volumetric Flask
Using a volumetric flask correctly is important if you want good results.
Step 1: Clean the Flask
Make sure the flask is clean before you start. Any unwanted material inside the flask may affect the solution.
Step 2: Add the Required Material
Add the required solute or measured stock solution to the flask, depending on the procedure.
Step 3: Add Some Solvent
Add some solvent to the flask. Do not fill it all the way to the mark yet.
Step 4: Dissolve the Material
Gently swirl the flask until the material has dissolved completely. Make sure nothing is left at the bottom.
Step 5: Add More Solvent
Slowly add more solvent. Stop when the liquid gets close to the calibration mark.
Step 6: Reach the Calibration Mark
Add the final amount of solvent carefully. For a normal water-based solution, the bottom of the meniscus should line up with the calibration mark.
Step 7: Mix the Solution
Put the stopper on the flask. Gently turn the flask upside down and back several times. This helps mix the solution evenly.
Volumetric Flask vs Measuring Cylinder
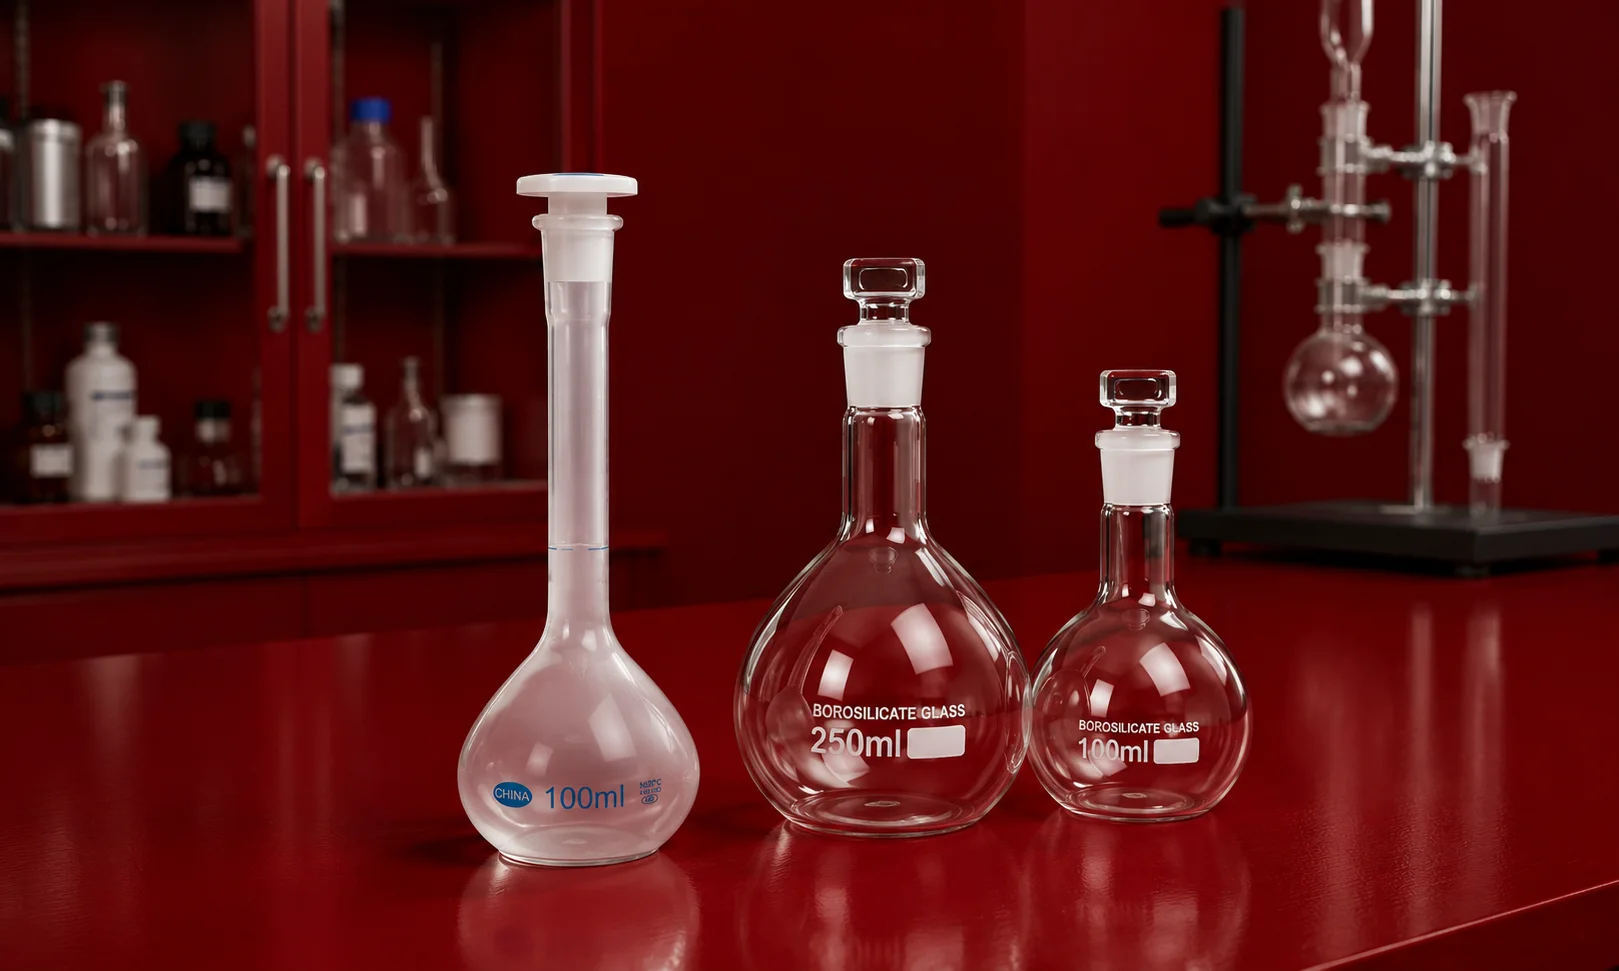
A volumetric flask and a measuring cylinder are both used for measuring liquids, but they are made for different jobs.
| Feature | Volumetric Flask | Measuring Cylinder |
| Main use | Preparing one specific volume | Measuring different volumes |
| Marks | Usually one calibration mark | Several graduation marks |
| Accuracy | High for its stated volume | Good for general volume measurement |
| Volume range | One fixed capacity | Many different volumes |
| Common use | Preparing solutions | Measuring and transferring liquids |
If you need to prepare a solution to a specific final volume, a volumetric flask is usually the better choice.
Volumetric Flask vs Erlenmeyer Flask
An Erlenmeyer flask has a wide bottom and narrow neck. It is commonly used for mixing, swirling, holding, and some heating tasks.
A volumetric flask is different. It is made mainly for preparing a specific volume of solution.
| Feature | Volumetric Flask | Erlenmeyer Flask |
| Shape | Round body with narrow neck | Cone-shaped body |
| Main use | Accurate solution preparation | Mixing and general lab work |
| Calibration | One specific volume mark | Usually not for exact volume measurement |
| Heating | Not normally used for heating | Can be used for some heating procedures |
| Mixing | Gentle mixing by inversion | Easy to swirl |
Volumetric Flask vs Round-Bottom Flask
Round-bottom flask that’s heating, reactions, distillation, whatever needs a flame under it. Volumetric flasks are doing something else entirely; hit one exact number and you’re done. They share that narrow neck, yeah, but past that they’ve got basically nothing in common.
| Volumetric Flask | Round-Bottom Flask |
| Used for accurate solution preparation | Used for heating and reactions |
| Has a calibration mark | Does not have a volume calibration mark for accurate preparation |
| Designed for one specific volume | Designed for laboratory reaction and heating setups |
| Not normally used for heating | Commonly used for heating |
Volumetric Flask vs. Florence Flask
A Florence flask, sometimes called a boiling flask, has that same round body, but it’s built for a completely different job: heating and boiling liquids. Volumetric flasks aren’t meant for that at all; they’re about getting an exact volume, not surviving a burner. So really, grab the Florence flask when heat’s involved and the volumetric one when the number on the side actually matters.
Types of Volumetric Flasks
These come in a handful of materials, colours, and sizes depending on what you’re actually doing with them.
Clear glass is the default most people reach for, mostly because you can actually see what’s happening inside, which matters a lot when you’re preparing a solution and need to watch the liquid.
Amber glass exists for a reason too; when light’s going to mess with whatever’s in the flask, that darker tint cuts down how much reaches the solution.
Then there’s plastic, lighter, harder to break, and handy in fieldwork or situations where glass just isn’t practical. One catch, though: the plastic itself needs to actually hold up chemically against whatever solution you’re putting in it; that’s not something to skip checking.
Different Flask Sizes
Volumetric flasks are available in many sizes.
Common sizes include:
- 25 mL
- 50 mL
- 100 mL
- 250 mL
- 500 mL
- 1,000 mL
Exact sizes really just come down to whoever’s making the flask; manufacturer to manufacturer, it varies.
Common Mistakes When Using a Volumetric Flask
Small mistakes add up fast with these, and they can throw off your final solution more than you’d expect. Here’s what tends to go wrong and how to sidestep it.
Reading the Meniscus Incorrectly
Problem: Looking at the liquid from above or below the calibration mark.
Solution: Keep your eyes level with the mark.
Filling Above the Line
Problem: Adding too much solvent after the liquid reaches the mark.
Solution: Add the final drops slowly when the liquid is close to the line.
Using the Wrong Temperature
Problem: Adjusting to final volume while the solution’s sitting at the wrong temperature for the procedure.
Solution: Stick to the lab procedure and whatever the manufacturer specifies, and keep in mind most volumetric flasks are calibrated at 20°C, so temperature actually matters here more than people think.
Not Dissolving the Material
Problem: The substance is not completely dissolved before the final volume is reached.
Solution: Make sure the material has dissolved before making the final adjustment.
Not Mixing the Solution
Problem: The solution may not be evenly mixed after reaching the mark.
Solution: Stopper the flask and gently invert it several times.
Using the Flask for Heating
Problem: Heating a volumetric flask like normal laboratory heating glassware.
Solution: Use equipment designed for heating. A volumetric flask is mainly made for accurate solution preparation.
How to Clean a Volumetric Flask
Taking care of laboratory glassware helps keep it in good condition.
Follow these basic steps:
- Clean the flask after use.
- Remove chemical residue properly.
- Rinse it according to the laboratory procedure.
- Avoid rough or abrasive cleaning materials.
- Check the flask for cracks or chips.
- Keep the calibration mark clean and easy to see.
- Store the flask somewhere safe.
If the flask is damaged, do not use it for work that requires accurate measurements.
Why Use a Volumetric Flask Instead of a Beaker?
A beaker is useful for many basic laboratory tasks. You can use it to hold, mix, transfer, and sometimes heat liquids. However, the markings on a beaker are usually only approximate.
A volumetric flask is different. It is designed to bring a solution to one specific volume. For example, if you need to prepare exactly 250 mL of a solution, a 250 mL volumetric flask is designed for that purpose.
Simple Example
Imagine that a laboratory procedure asks for 250 mL of a solution. First, the required material is placed into a 250 mL volumetric flask. Some solvent is added and the material is dissolved. More solvent is then added slowly.
When the liquid gets close to the calibration line, the final amount is added carefully. The bottom of the meniscus is lined up with the mark. The flask is then closed and gently inverted several times. The result is a solution prepared to the flask’s specified final volume.
Safety Tips
A volumetric flask is simple to use, but normal laboratory safety rules still apply.
- Wear the required protective equipment.
- Handle glass flasks carefully.
- Check the flask for damage before use.
- Make sure the flask material is suitable for the chemical.
- Do not normally heat a volumetric flask.
- Follow the laboratory’s safety instructions.
- Label prepared solutions when required.
- Handle chemicals according to their safety instructions.
Volumetric Flask Checklist
Before using a volumetric flask, check the following:
- The flask is clean.
- You have selected the correct flask size.
- The flask is not damaged.
- The material is suitable for the chemical.
- The solute is completely dissolved.
- The liquid is near the correct temperature when required.
- Your eyes are level with the calibration mark.
- The meniscus is correctly aligned.
- The solution is mixed after reaching the mark.
- The solution is labeled if needed.
Conclusion
A volumetric flask is an important tool in many laboratories. It is mainly used when a solution needs to be prepared to a specific volume.
Its narrow neck and calibration mark make it different from ordinary laboratory containers such as beakers and Erlenmeyer flasks.
To get reliable results, use the correct flask size, dissolve the material properly, read the meniscus at eye level, and bring the liquid carefully to the calibration mark.
With proper use and care, a volumetric flask can make solution preparation easier, more consistent, and more accurate.
Frequently Asked Questions
What is a volumetric flask used for?
A volumetric flask is mainly used to prepare a solution to a specific final volume. It is commonly used for standard solutions, dilutions, buffers, and analytical laboratory work.
Why does a volumetric flask have only one mark?
The flask is designed for one specific volume. The single mark shows where the liquid should reach to achieve that volume.
Can a volumetric flask measure different volumes?
Not accurately. A volumetric flask is made for its stated capacity. For measuring different volumes, a measuring cylinder or suitable pipette may be a better choice.
Can you heat a volumetric flask?
A volumetric flask is not normally used for heating. Use laboratory equipment that is designed for heating when a procedure requires it.
What is the difference between a volumetric flask and a measuring cylinder?
A volumetric flask is made to prepare one specific volume accurately. A measuring cylinder has several markings and can be used to measure different volumes.
What is the difference between a volumetric flask and an Erlenmeyer flask?
A volumetric flask is designed for accurate solution preparation. An Erlenmeyer flask is mainly used for mixing, holding, swirling, and other general laboratory tasks.
What is a volumetric flask made of?
Volumetric flasks are commonly made from glass or plastic. Borosilicate glass is widely used for laboratory glassware because of its chemical and thermal properties.
What does Class A mean on a volumetric flask?
Class A usually means that the flask meets tighter accuracy limits than Class B glassware. The exact limits depend on the applicable standard.
What is a meniscus?
A meniscus is the curved surface of a liquid. When reading many water-based solutions, the bottom of the meniscus is aligned with the calibration mark.
Can a volumetric flask be used for storage?
A volumetric flask is mainly designed for preparing solutions. It is generally better to use a suitable storage container when a solution needs to be stored for a longer period.
What sizes do volumetric flasks come in?
Common sizes include 25 mL, 50 mL, 100 mL, 250 mL, 500 mL, and 1,000 mL. Other sizes are also available.
What are the common types of laboratory flasks?
Common laboratory flasks include volumetric flasks, Erlenmeyer flasks, round-bottom flasks, Florence flasks, Büchner flasks, and distillation flasks. Each type has a different design and purpose.