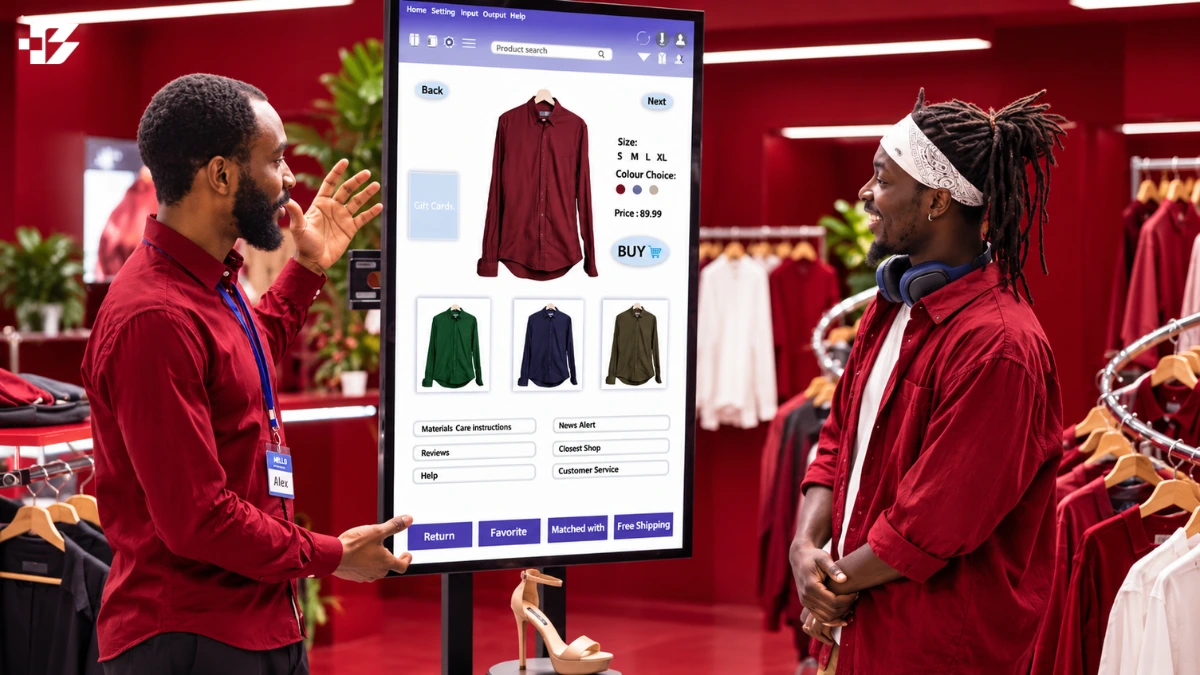
A fashion brand builds a dependable size-and-fit strategy by grounding its size chart, blocks, grading, fit testing, and shopper guidance in the same target-customer evidence. The connected process helps your customer find clothes they will keep and helps your team make clearer product decisions.
A fit block is a basic pattern built around your brand’s established body measurements and proportions, used as a starting point for new styles. A smaller brand can build a useful process without adopting every technology at once. Start with evidence, then connect pattern development, fit checks, online guidance, and ongoing review.
Your team may be balancing limited development time with online apparel returns and customer questions. A shared fit plan gives design, product development, and ecommerce teams one set of decisions to use. It also helps you explain your fit promise in plain language.
Key Takeaways
- Build fit decisions around the customer you intend to serve.
- Keep body size charts distinct from finished garment measurements.
- Use fit blocks as starting points for related styles.
- Grade patterns with point-specific rules, then check the full range.
- Record each fit change so later samples can confirm it.
- Give shoppers clear, product-specific sizing information.
A clear fit promise starts with choosing whose body and preferences the collection is designed to serve.
Why Should Fit Strategy Start With Customer Evidence?
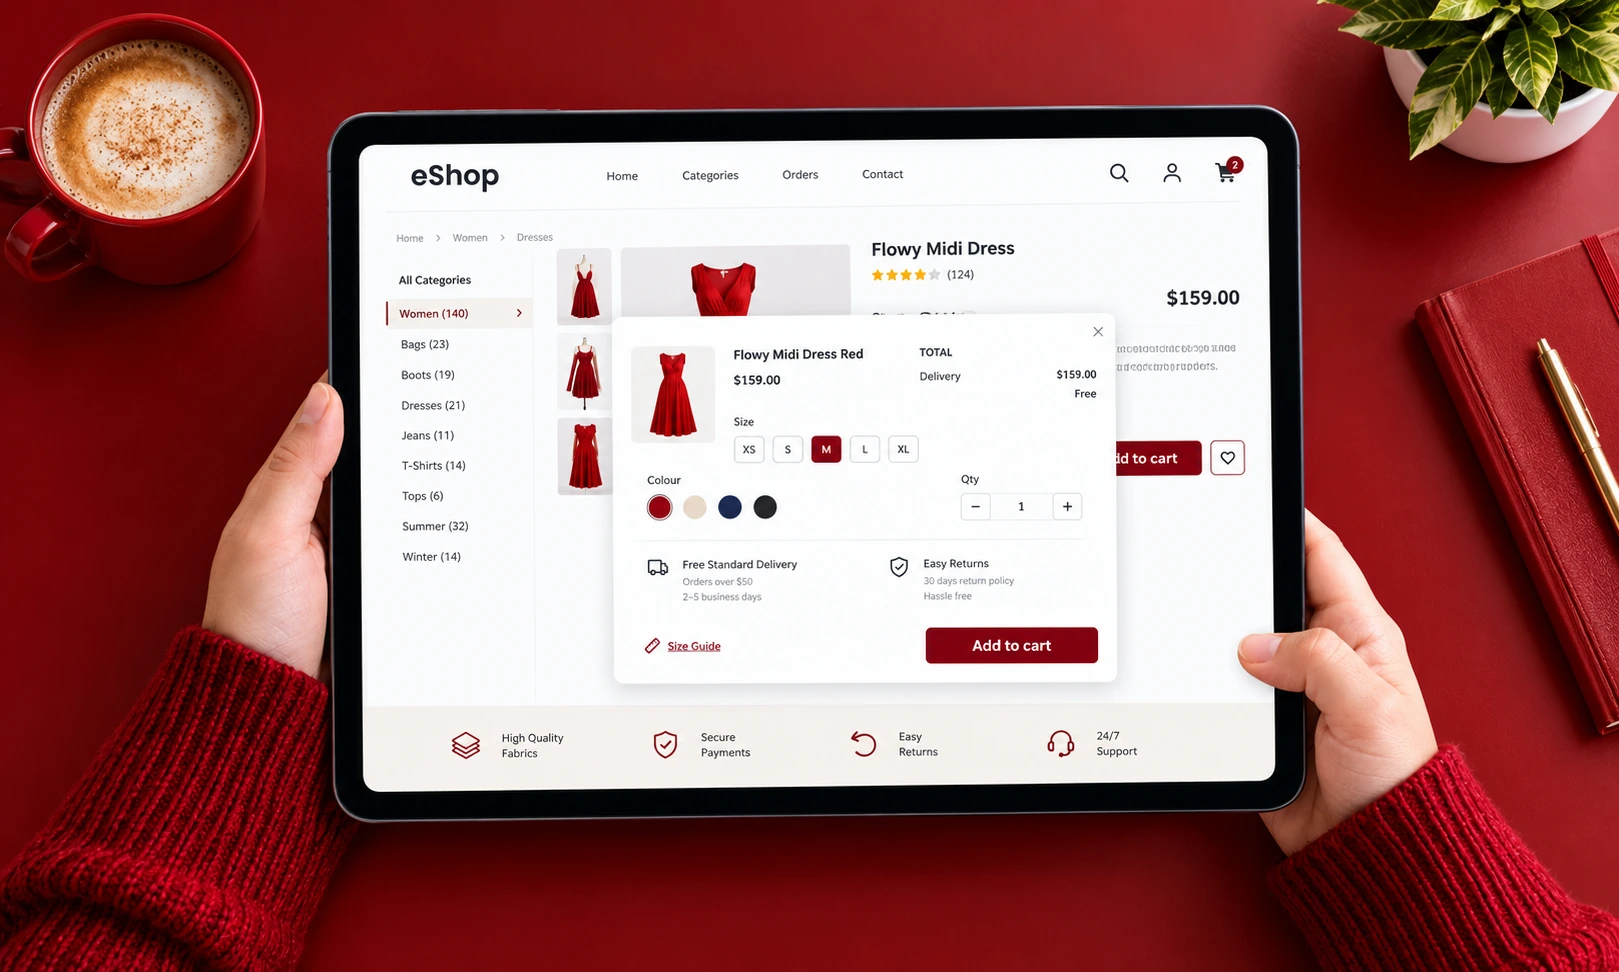
Fit deserves attention early because U.S. online apparel had a 24.4% return rate in 2023. Customer evidence helps your fashion brand make choices from actual body proportions, style preferences, and product use, rather than inherited assumptions.
A 2023 seller survey named size and fit as the leading stated reason for clothing returns, with 53% of respondents choosing it. A 2021 survey estimated that poor fit or style caused about 70% of apparel returns among North American retailers. Those figures describe different surveys and measures, not the same return estimate.
Use return reasons as clues about a product decision, not as proof that every customer wants the same fit.
Customer comments can show where a style feels tight, loose, short, or hard to move in. Pair those comments with return reasons, product category, and preferred silhouette. A slim woven trouser and an oversized knit tee need different fit goals.
The commercial case for inclusion is meaningful, though it does not prove demand for every label. The plus-size clothing market was valued at USD 317.32 billion in 2026 and is projected to reach USD 417.21 billion by 2031, at a 5.63% compound annual growth rate. North America held 45.12% of that market in 2025, while online retail is forecast to grow at a 9.75% annual rate through 2031.
A 2023 consumer survey found that 70% of respondents were more inclined to buy from brands that consistently champion body diversity in marketing. Research on size-inclusive model photography also found that models closer to shoppers’ body sizes can reduce perceived fit risk.
Use customer feedback to define body proportions, preferred silhouettes, and intended use before setting development targets. Your social channels can also help gather customer stories and feedback through audience engagement and reviews.
Define the customer by body proportions, preferred fit, and intended use, not by a size label alone.
Which Size Range and Labels Fit Your Customer?
Choose the range to fit the customer and product first, then select labels that communicate that range clearly. Product needs should lead: a fitted trouser may need more size distinctions than a loose tee.
Alpha labels such as XS-XXL often suit casual or oversized garments. Numerical labels such as 0-18 can offer finer distinctions for fitted products. One alpha size, such as S, can cover several numerical sizes, such as 6-8.
| System | Typical labels or example | Useful context | Tradeoff |
|---|---|---|---|
| Alpha | XS-XXL | Casual or oversized garments | One alpha label may cover several numerical sizes |
| Numerical | 0-18 | Fitted or more precise size distinctions | Requires a clear brand-specific chart |
| Mixed by product | Tee XS-XL and trousers 2-18 | Different product categories | Publish clear equivalencies |
Competitor size ranges and measured garments can help you spot common market choices. Use them as benchmarks, not directions to copy. A competitor’s sizing may reflect different customers, fabrics, or design goals.
A broader size range increases inventory needs and can affect FOB garment pricing. Compare the range you plan to offer with your available inventory capacity and supplier costs before setting labels.
- Customer body range
- Garment category and intended fit
- Inventory capacity
- Supplier costing
Use competitor garments to test your assumptions, but set your own measurements and fit identity.
How to Build a Fashion Brand’s Size and Fit Strategy Around a Base Size
A base size turns the target customer into a measurable reference for patterns, samples, and fittings. Start with body measurements, then record them alongside the choices that shape your brand’s size charts.
Body measurements describe a person; finished garment measurements describe the sewn style. A chart should reflect your target customer and sizing choices, not a universal chart copied from another brand. Keep body measurements and finished garment measurements in separate records.
Set the body measurement foundation
Choose a base size that your team can fit reliably and that supports the planned range. Womenswear brands often use size 6 or size 8 as a base-size example. The right choice depends on the target customer and the product category.
Record each body point with a clear method, unit, and location. Common points include bust, waist, hip, and inseam, though a jacket or dress may need other measures. Consistent instructions help prevent two team members from measuring the same body differently.
ASTM D5585-21 lists body measurements for adult female misses figure types in sizes 00 through 20. Treat the ASTM D5585-21 standard as a reference for that group, not a rule for every customer or category.
A standard can help you compare points, but your brand still needs to set its own chart. Consider the customer’s proportions, the intended fit, and how the garment will be worn. A body size chart should state its measurements clearly so teams and shoppers use the same terms.
Choose and keep a consistent fit model
A consistent fit model gives the development team a stable person for checking samples. Select someone whose proportions match the intended customer and product category, not just someone who matches one number.
Evaluate the model at category-relevant points of measurement. For a fitted top, check bust and waist; for trousers, check waist, hips, and inseam. These measures help the team read the sample against the base-size specification.
The fit model’s feedback adds information that a tape measure cannot show. Ask where a sleeve pulls, whether a waistband shifts, or whether a neckline feels restrictive. Record comments in specific terms so the technical designer can connect them to pattern changes.
Keep the same model during a style’s development when possible. If the model changes, record the new measurements and note the change in the fit record. That gives the team context when a sample appears different from an earlier fitting.
Record the base-size body measurements and the fit model’s relevant points of measure in one controlled specification.
How Do Fit Blocks Make a Collection More Consistent?
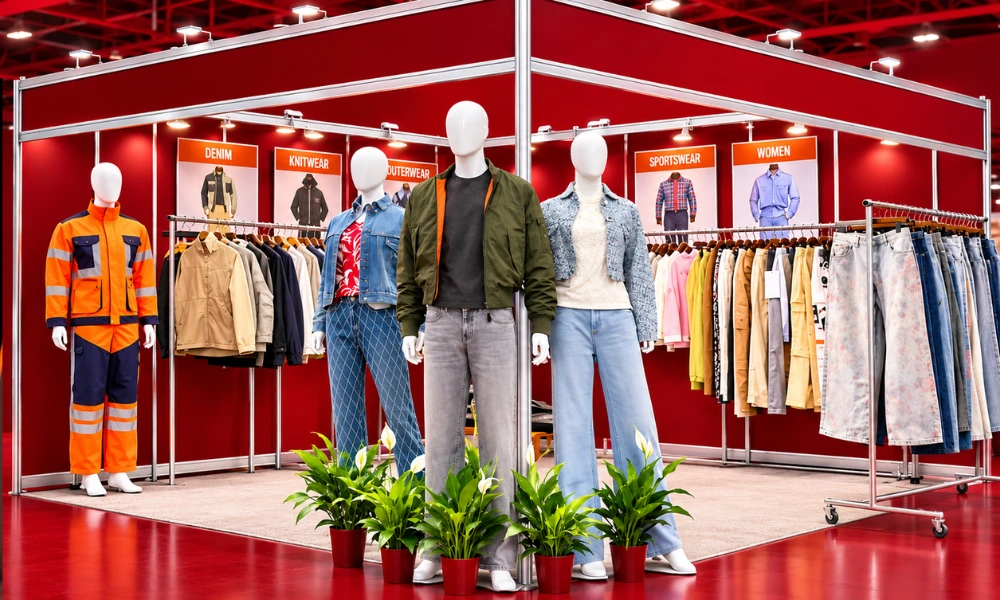
Reusable fit blocks let a brand develop new styles without rebuilding the underlying fit from scratch. A fit block is a reusable starting pattern built around your established body measurements and proportions.
Related styles can begin from an approved block, then change through design details and fabric choices. Sloper and foundation pattern can also describe related basic patterns, though their pattern details may differ. Separate blocks help when fabric behavior or construction changes the fit.
Build blocks for garment and fabric categories
One universal pattern rarely serves every garment category well. Knit tops, knit bottoms, woven tops, and woven bottoms may need distinct blocks because their construction and fabric behavior differ.
| Block category | Starting point | Fit consideration |
|---|---|---|
| Knit top | A top block for related knit styles | Stretch and recovery |
| Woven top | A woven-top block | Ease for movement and construction |
| Woven bottom | A bottom block for related styles | Waist, hip, thigh, and rise must work together |
Stretch knits often conform to the body and recover after movement. Non-stretch wovens generally need more ease for comfort and mobility. A knit tee block may guide a related knit top, but it should not be forced onto a stiff woven blouse.
Keep records for the block’s fabric, construction, and intended garment type. This helps the designer choose a sound starting point for a new style. The same label, such as “top block,” should not hide a major difference in stretch or structure.
Design silhouettes with ease and movement in mind
Ease is the space between the body and garment. A fitted silhouette uses less ease, while a relaxed silhouette uses more. A regular silhouette falls between those choices, but the amount should suit the fabric and design.
Sleeve articulation can help an arm move without lifting the whole garment. Shoulder-seam placement changes the visual line and how the sleeve hangs. Darts and tucks shape fabric around the body, while added fullness creates room or volume.
Think about movement as part of the style, not a final fix. A woven shirt needs enough room at the back and armhole for reaching. A stretch knit may move with the body, but poor recovery can leave the garment sagging after wear.
Keep the approved block, matching fabric reference, and intended silhouette together as one development baseline.
How Should You Grade the Full Size Range?
Grade the pattern from the approved base size with point-specific rules, not a single blanket increase for every measurement. Grade rules set how each point changes from one size to another.
Bust, waist, hip, and inseam may need different increments because bodies and garment shapes change in different ways. Body-measurement changes do not always match finished-garment changes. A garment’s ease and design affect its finished dimensions.
Grading expands a sample pattern into a production size range. The Fashion Institute of Technology’s grading guide describes this process as extending a sample pattern across production sizes.
Set increments for each point of measurement in the spec. A trouser’s waist, hip, thigh, and rise should not all grow by the same amount. Check that the resulting shape still matches the intended design in each size.
Ask a patternmaker to verify the graded specification before production. Put the grade rules in the tech pack so the supplier and development team use the same measurements. CLO Pattern Drafter can generate points of measurement and apply grading from entered measurements, but it does not replace technical review.
Check at least the smallest, base, and largest sizes against the intended proportions before approving the run.
What Happens During a Fit Session?
A fit session tests whether the sample works on a moving body, not just whether it matches a measurement sheet. Movement matters because seams, fabric, and ease can behave differently in use.
The fit model, technical designer, patternmaker, and product developer can review the sample together. They check measurements, balance, silhouette, fabric behavior, comfort, and movement. A correction in one area can affect another.
Ask the model to sit, walk, bend, or raise their arms when those actions suit the garment. A jacket sleeve may pull during a reach, while a skirt may restrict a long step. The designer protects the intended silhouette as the technical designer and patternmaker turn observations into pattern changes.
Most brands go through two to four fitting rounds before approving a fit sample. Each round should build on the last, with clear notes about what changed and what still needs review.
- Verify the sample size and measurements.
- Inspect balance and seams.
- Test movement for the garment’s intended use.
- Record fit comments with annotated images.
- Confirm each correction on the next sample.
For product teams gathering customer comments beyond the fitting room, customer stories and reviews can add useful context about how garments feel after wear.
Write each approved correction as a specific location and amount, rather than “too tight” or “too loose.”
How Can Shoppers Choose the Right Size Online?

Shoppers need both a consistent body size chart and clear details about how each style fits. Show the difference between body measurements and finished garment measurements so customers know which numbers to compare.
A body size chart typically lists bust, waist, and hip measurements. Product pages can add style-specific garment measurements, such as inseam, plus model height and worn size when available. Do not label a garment measurement as a body measurement.
Use plain-language notes such as “runs small,” “oversized,” or “fabric has stretch.” Product videos can show movement, drape, and stretch in ways a still image cannot. Size-inclusive model images can also help shoppers judge how a style may look on a body like theirs.
- Visible size-chart link
- Body measurement instructions
- Style-specific garment measurements
- Clear fit imagery or video
Petite, tall, curvy, and other ranges may need separate charts when their actual body measurements differ. A single chart should not treat different proportions as simple label equivalents.
Baymard’s apparel site testing found that 83% of desktop sites and 87% of mobile sites lacked sufficient sizing information. Use clear apparel sizing guidance near the size selector to help shoppers find the details they need.
Build a product page that makes fit information easy to scan on a phone. A well-planned Shopify store can place useful size details within the shopping flow. Clear site navigation and page structure also help shoppers find sizing information.
Product pages can support confident choices with useful product content and demonstrations. If you sell through marketplaces, marketplace product listings need clear fit details too. Strong website design and content help keep sizing information readable across screens.
Make the sizing tool easy to find on the product page, before the shopper reaches checkout.
Which Fit Technologies Belong in the Workflow?
Choose technology only when it solves a defined customer or product-development problem in your existing workflow. Start with the task, then compare what each tool needs from your team and customer.
Customer-facing size recommendations use body and product information to suggest a size. Photo-based virtual try-on uses images to create or display a digital body or garment. Test accuracy across fabric types and intended fits, not just one sample style.
Compare customer-facing sizing and virtual try-on
Check whether shoppers can finish the required steps, whether the tool works on common devices, and whether it connects to your store. Ask how it handles fitted, relaxed, stretch, and structured garments. A precise body model cannot predict every fabric’s drape or recovery.
3DLOOK is one photo-based example: it creates a body model from two smartphone photos and extracts more than 80 body measurements. That capability does not make it the right choice for every brand. Consider customer comfort, fit accuracy, setup work, and how the tool fits your product data.
| Tool | Workflow connection | Specific capability |
|---|---|---|
| CLO Fit Maps | Fabric-aware virtual fit evaluation | Applies maximum wearable strain from fabric properties |
| Browzwear VStitcher | 2D pattern development plus 3D review | Supports iterative design validation |
| Optitex | 2D pattern engineering plus 3D sample visualization | Grades from base or sample-size patterns |
| Gerber AccuMark 3D | 2D patterns plus 3D simulation | Connects pattern and simulation |
| Style3D Studio | 3D fitting analysis | Displays pressure, stress, deformation, and thermal insulation |
Check privacy and product-development needs
Photo and body data call for careful choices about collection, use, retention, and security. Explain what the tool collects and limit access to the people who need the data. A customer should understand what happens to their image after a size suggestion.
Three new comprehensive U.S. consumer privacy laws in Indiana, Kentucky, and Rhode Island took effect on January 1, 2026. That brought the number of states with such laws to 20. Connecticut’s biometric-data rule treats biometric data as sensitive personal information, whether or not it is processed to identify someone uniquely.
Most state comprehensive privacy laws limit biometric data to information used to identify a person uniquely. This difference matters when a sizing tool creates body measurements from photos. Review the data flow and state rules that apply to your customers before launch.
Digital tools can help product teams compare patterns and simulated garments. CLO Fit Maps applies maximum wearable strain based on fabric properties. Browzwear VStitcher combines 2D pattern development with 3D garment views, while Optitex connects pattern engineering and 3D sample visualization.
Gerber AccuMark 3D connects 2D patterns with 3D simulations. Style3D Studio displays body pressure, garment stress, deformation, and thermal insulation. Choose the outputs that support a real decision in your development process, rather than collecting charts no one uses.
Before collecting shopper photos or body data, document what is collected, why it is needed, and how state privacy requirements apply.
How Will You Know the Strategy Is Working?
Track fit outcomes by style and size so a recurring problem points to a specific product decision. Useful measures include return reasons, size exchanges, customer fit comments, and repeated sample corrections.
Compare results by style and size, then share patterns with product development and ecommerce teams. A high exchange rate in one size may point to a chart issue, while repeated comments about a sleeve may call for a pattern review. Look for a repeated signal, not one unusual return.
A fit metric is useful when it points your team toward a change it can test in a sample or product page.
In a 2021 controlled A/B test, Zalando’s SizeFlags size-advice model reduced size-related returns by 3.8%. Each test group included 720,000 customers. This measured SizeFlags result shows what one model did in one test, not what another brand should expect.
Review your blocks yearly or twice yearly. Update them sooner when customer comments or repeated sample corrections reveal the same fit issue. Keep the reason and changed measurements in the development record.
Customer reviews and social engagement can add context to return data. Use customer feedback and audience insights alongside product records, then share findings with the teams that can act.
Set a recurring review date and assign one owner to turn fit and return patterns into documented changes.
Conclusion
A reliable fit strategy is a documented set of decisions that stays consistent from the first body measurement to the product page. Your body size chart, fit blocks, graded specifications, sample decisions, and customer-facing explanation should agree.
Start with one priority product category instead of trying to revise every style at once. Record the intended customer, base size, and fit promise before the next sample begins. That gives your team a clear point of reference for each later decision.
Choose one product category this week and write down the customer, base size, and fit promise that will guide its next sample.