

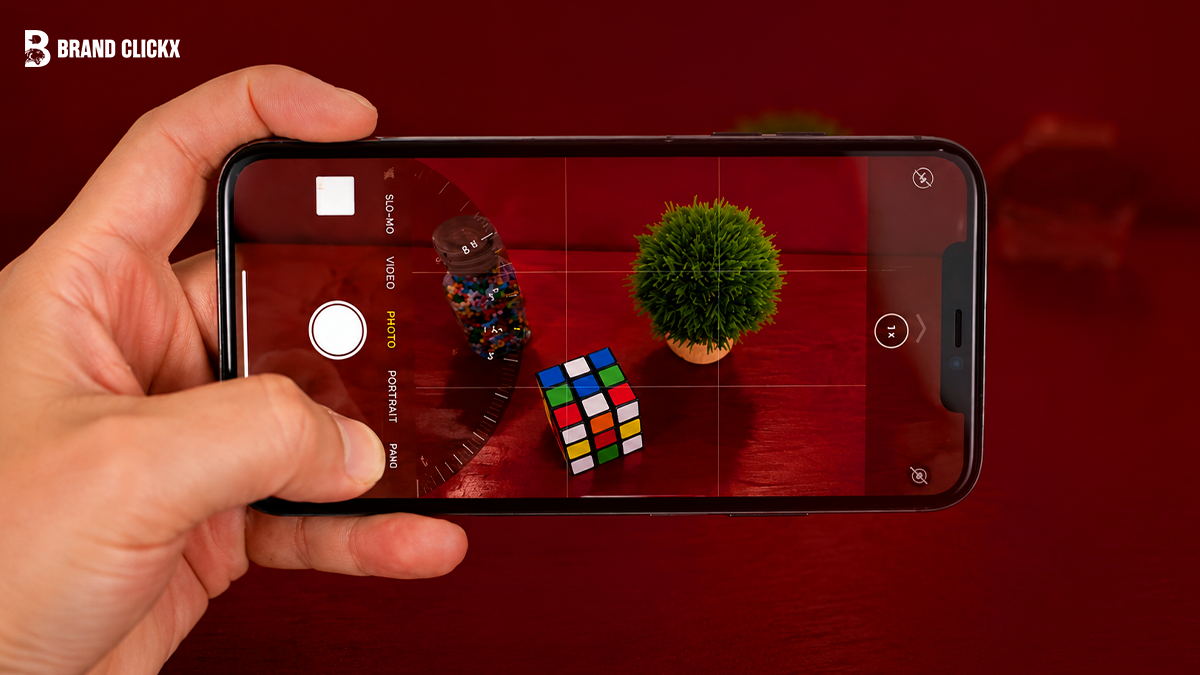
Your iPhone camera is doing things you have never asked it to do. Most people tap the shutter button, maybe zoom occasionally, and call it done. But the camera app in iOS 26 is packed with shortcuts, hidden controls, and AI-powered features that most people walk past every single day.
These are the tricks that will actually change how you use your phone.
AI Overview
The iPhone camera in 2026 runs on iOS 26, which Apple describes as a major update bringing intelligent experiences and improvements across every core app. The camera system has gained AI-powered features including Visual Intelligence through Camera Control, Live Text recognition directly in the viewfinder, enhanced exposure controls, and the ability to record video without leaving Photo mode. Many of these features are hidden behind gestures, long-presses, and settings that Apple does not surface prominently.
According to TechRepublic’s May 2026 analysis of iOS features, several camera upgrades go unnoticed by everyday users despite being available since recent updates. This guide covers the most useful hidden camera tricks available on iPhone in 2026, from instant access shortcuts to AI identification tools to privacy controls most users have never found.
Key Takeaways
| Trick | How to Access It |
| Instant camera from lock screen | Swipe left on the lock screen |
| Record video without switching modes | Long-press the shutter button in Photo mode |
| Adjust exposure manually | Tap subject to focus, then slide the sun icon up or down |
| Access hidden camera controls | Swipe up in the camera viewfinder |
| Copy text from anything you photograph | Point camera at text, tap the Live Text icon (bottom right) |
| Identify plants, animals, objects | Long-press Camera Control, point at subject |
| Visual search for products | Long-press any image and tap Search |
| Lock exposure and focus together | Tap and hold on subject until AE/AF Lock appears |
| Take a photo while recording video | Tap the white circle button while video is running |
| Lock focus without locking exposure | Tap to focus, slide sun icon while holding position |
Trick 1: Open the Camera Instantly Without Unlocking Your Phone
Most people unlock their iPhone and then hunt for the camera app. There is a faster way that most people never try.
On the lock screen, swipe left. The camera opens immediately, with full shooting capability, without requiring Face ID or your passcode.
This is the single most useful camera trick for capturing moments that are about to disappear. The time between seeing something worth photographing and being ready to shoot drops from several seconds to less than one.
Important note: photos taken this way are saved to your camera roll normally, but someone else cannot swipe left and access your existing photos. The lock screen camera is shoot-only, which makes it useful without being a privacy risk.
Trick 2: Record Video Without Switching Modes
You are in Photo mode, lined up for a shot, and something starts happening that you want to capture as video. The old way was to swipe to Video mode, which often meant missing the moment.
The new way: long-press the shutter button. Your iPhone immediately starts recording video. Release to stop. No mode switching required.
Slide the shutter button to the right while holding it to lock the video recording so you can take your finger off the button. A small lock icon confirms it is recording hands-free.
This trick works in the standard Photo mode and is one of the most practically useful hidden gestures in the entire camera app.
Trick 3: Adjust Exposure by Sliding the Sun Icon
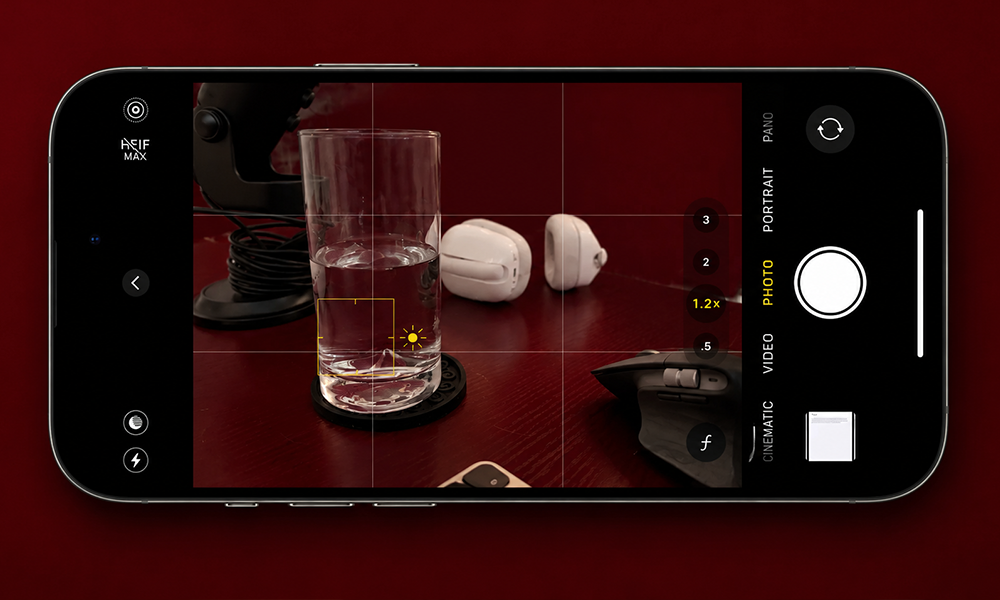
Most iPhone users know that tapping on a subject in the viewfinder brings up the yellow focus box. What most people do not know is that the sun icon to the right of that box is interactive.
After tapping to set focus, slide the sun icon up to brighten the image or down to darken it. This gives you manual exposure control directly in the viewfinder, without going into any settings or pro mode.
This is the fastest way to fix a photo that looks too bright or too dark before you take it, rather than editing afterward.
Trick 4: Swipe Up in the Viewfinder for Hidden Controls
The small arrow at the top of the camera app reveals extra controls, but there is a faster way to access all of them. Swipe upward in the viewfinder itself.
This instantly expands the full toolbar showing filters, aspect ratio, Live Photo controls, photo styles, and other options without tapping the arrow first. It is the same controls, reached in one fluid gesture instead of two taps.
Trick 5: Copy Text From Anything the Camera Can See
This one genuinely surprises people when they first see it.
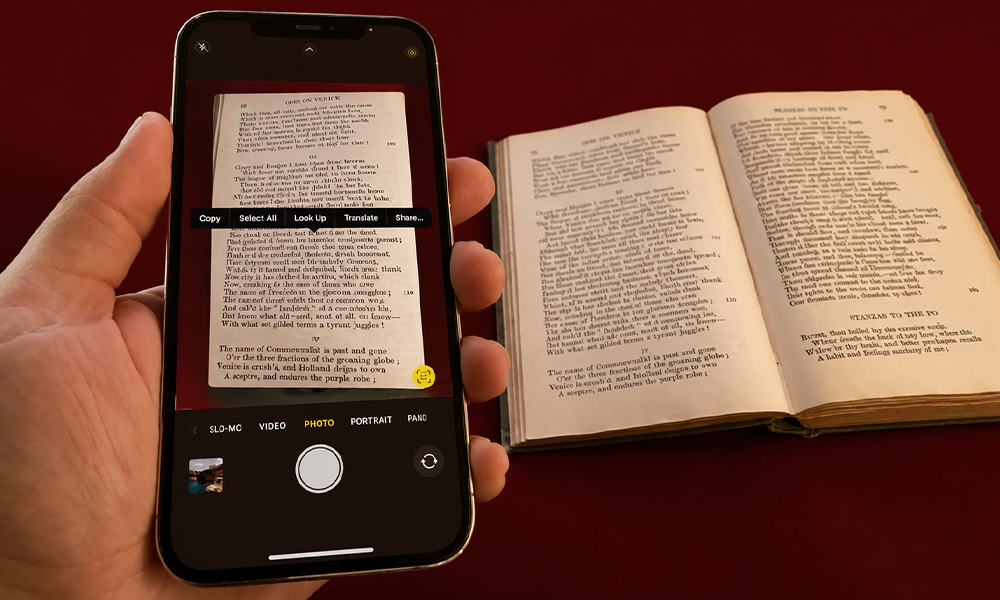
Point your camera at any text in the real world. A menu, a business card, a whiteboard, a street sign, a label on a product. A small text icon appears in the bottom right corner of the viewfinder. Tap it.
You can now copy that text, translate it, call any phone number it contains, open any URL it shows, or search any address on Maps. All without typing a single character.
This is iOS Live Text running directly in the camera viewfinder. The same feature works on photos you have already taken. Open any photo in your library that contains text, long-press the text in the image, and the same copy and share options appear.
Trick 6: Identify Plants, Animals, and Objects With Visual Intelligence
On iPhones with Camera Control (the small button on the right side of the phone on iPhone 16 and later), there is an AI identification feature that most users have never tried.
Long-press the Camera Control button until a new camera view opens. Point it at any plant or animal. The name appears at the top of the screen. If the system is confident, it shows the identification directly. If it is less certain, it shows “Maybe” and tapping gives you additional options.
This feature is powered by ChatGPT integration in iOS 26. It works for identifying unfamiliar plants in a garden, birds on a feeder, insects on a leaf, and dozens of other real-world identification needs. No app download required.
If your iPhone does not have a dedicated Camera Control button, you can add a camera visual intelligence shortcut to the Control Center through Settings.
Trick 7: Visual Search for Products in Photos
See something you want to buy but do not know where to find it? This trick works anywhere on your phone.
In the Photos app, Safari, Messages, or Instagram, long-press any image and tap Search. Your iPhone uses Google or your preferred shopping app to find similar products, outfits, shoes, home decor, or whatever appears in the image.
It works for identifying brands, locating where to buy specific items, finding similar styles at different price points, and identifying landmarks, dog breeds, or anything else visually recognizable.
No screenshot needed. No separate app required. Just long-press and search.
Trick 8: Lock Exposure and Focus So They Stop Moving
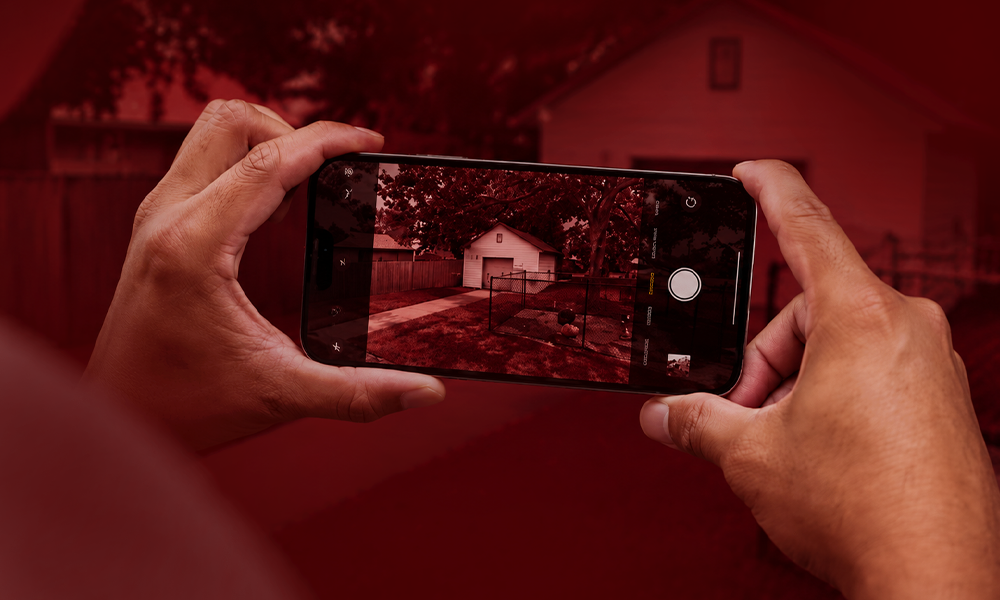
This one solves a frustrating problem that many photographers encounter without realizing there is a solution.
When you tap to focus on a subject, the iPhone continuously adjusts both focus and exposure as the scene changes. If the light shifts or something moves in the background, the camera re-exposes and your carefully composed shot changes.
To lock both focus and exposure, tap and hold on your subject until the AE/AF Lock banner appears at the top of the screen. Now both are locked and will not shift until you tap elsewhere or take the shot.
This is essential for any photograph where the light conditions are tricky, where something is moving in the background, or where you want to lock a specific creative exposure before tapping the shutter.
Trick 9: Take a Photo While Recording Video
You are recording video and you see a moment you want as a still image. Most people either stop the video to take the photo (losing the video) or decide to just screenshot the video later (lower quality).
The right answer: while recording video, tap the white circle button that appears to the left of the record button. Your iPhone takes a full-resolution photo without interrupting the video recording.
The photo saves to your camera roll separately. The video keeps going. You get both.
Trick 10: Use the Grid for Better Composition
The rule of thirds is one of the most reliable composition principles in photography. Your iPhone camera can show you a grid that makes it easy to apply without thinking about it.
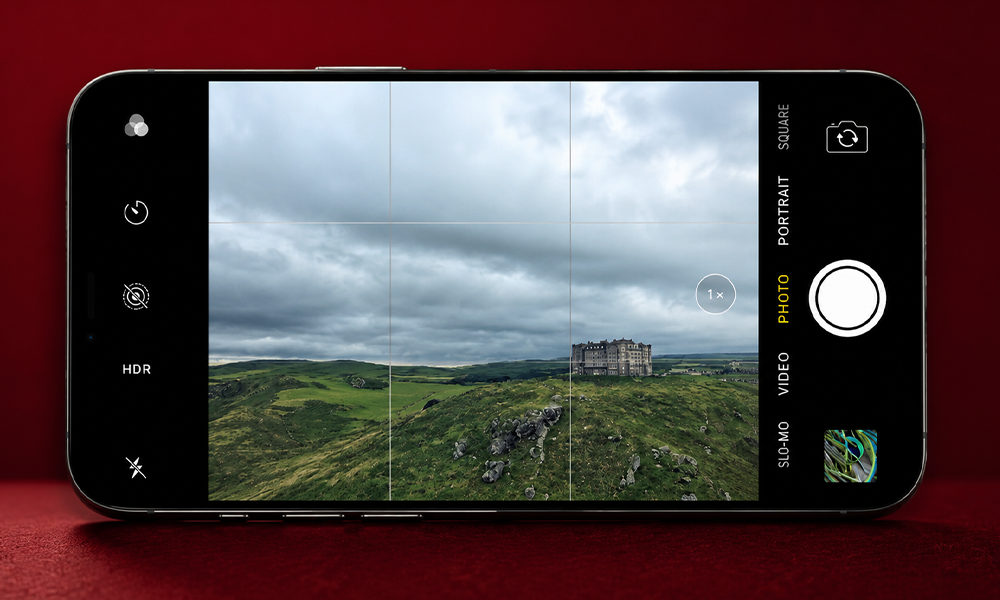
Go to Settings, then Camera, then turn on Grid. A three-by-three grid of lines appears in the viewfinder. Place your main subject where the lines intersect rather than in the center and most photos immediately look more dynamic and intentional.
This does not appear on the final photo. It is a composition guide only.
Trick 11: Use Portrait Mode on Objects, Not Just People
Portrait mode creates the blurred background effect (bokeh) that used to require an expensive DSLR lens. Most people use it only for people.
It works on any subject. Food, flowers, products, pets, shoes, coffee cups. Anything where you want the subject sharp and the background soft. Switch to Portrait mode, get close enough that the camera recognizes the subject, and the depth effect applies automatically.
You can also adjust the strength of the blur after taking the photo. Open the image in Photos, tap Edit, and slide the depth slider. This lets you dial in exactly how strong the background blur should be after the fact.
Trick 12: Protect Your Hidden Photos With Face ID
Hiding photos on an iPhone used to move them to an album called Hidden that anyone could open. There was no protection on it at all.
That changed. Go to Settings, then Photos, and turn on Use Face ID for Hidden Album. Now the Hidden album and the Recently Deleted album both require Face ID or your passcode to open. The photos are genuinely private.
This is one of those features that fixes a real problem that most people did not know existed. Worth turning on for anyone who uses the Hidden album for any reason.
Trick 13: Shoot in Multiple Formats at Once
Most iPhone users shoot in HEIC format by default, which gives smaller file sizes with good quality. But if you edit photos or share them across different devices, you might want JPEG instead.
Rather than choosing one format permanently, you can set your iPhone to capture both.
Go to Settings, then Camera, then Formats. The Apple ProRAW setting (on Pro models) lets you capture a full RAW file alongside a processed JPEG. For standard shooting, choosing High Efficiency or Most Compatible determines your default, but you can switch per session from the camera controls toolbar.
Trick 14: Use the Volume Buttons as a Remote Shutter
When you use the on-screen shutter button, you often introduce tiny movement that can blur photos, especially in low light.
The volume up and volume down buttons both trigger the shutter. Using a physical button on the side of the phone while bracing it against something steady produces sharper photos than tapping the screen.
This also works with Apple earbuds. Plug in wired earphones or connect wireless ones and use the volume button on the cable or earbud as a remote shutter trigger. This lets you step back from the phone, frame a group shot, and trigger it without touching the screen at all.
Trick 15: Turn Off Screenshot Previews
This is not directly a camera trick but it is a camera-adjacent quality of life fix that iOS 26 finally added.
After taking a screenshot, the small preview thumbnail appears in the corner of the screen and stays there for a few seconds. It can get in the way, especially when you are trying to capture multiple screenshots quickly.
Go to Settings, then General, then Screenshots, and turn off Show Preview. The screenshot still saves to your camera roll but the thumbnail no longer appears. Clean and fast.
Tips for Getting the Most From These Features
Start with the exposure trick first. It is the one that immediately improves photo quality for every single shot. Tap to focus, slide the sun icon, shoot. That single habit change produces noticeably better photos.
Try the video long-press on your next outing. Once you use it, you will not understand how you managed without it. Not switching modes is a genuinely significant improvement to how the camera feels in practice.
Enable the grid in Settings right now. It takes five seconds to turn on and immediately makes composition easier for every photo going forward.
Use Live Text the next time you see a menu or business card. Point the camera, tap the icon, copy the address or phone number. It saves the kind of friction that makes people reach for pen and paper.
FAQs
How do I open the iPhone camera faster?
Swipe left on the lock screen. The camera opens immediately without unlocking your phone, which is the fastest way to capture a moment.
How do I record video without switching to video mode on iPhone?
Long-press the shutter button in Photo mode. Your iPhone starts recording immediately. Slide right to lock the recording so you can remove your finger.
How do I adjust brightness before taking a photo on iPhone?
Tap on your subject to set focus, then slide the sun icon that appears to the right of the yellow box. Slide up to brighten, down to darken.
What is Visual Intelligence on iPhone?
A camera-powered AI feature on iPhone 16 and later that identifies plants, animals, and objects when you long-press the Camera Control button and point at a subject. Powered by ChatGPT integration in iOS 26.
How do I lock focus on iPhone camera?
Tap and hold on your subject in the viewfinder until AE/AF Lock appears at the top of the screen. Both focus and exposure are now locked until you tap elsewhere.
Can I take a photo while recording video on iPhone?
Yes. While recording video, tap the white circle button that appears to the left of the record button. A full-resolution photo is saved to your camera roll without stopping the video.
How do I hide photos securely on iPhone?
Go to Settings, then Photos, and enable Use Face ID for Hidden Album. This requires Face ID or your passcode to open the Hidden and Recently Deleted albums, making them genuinely private.