

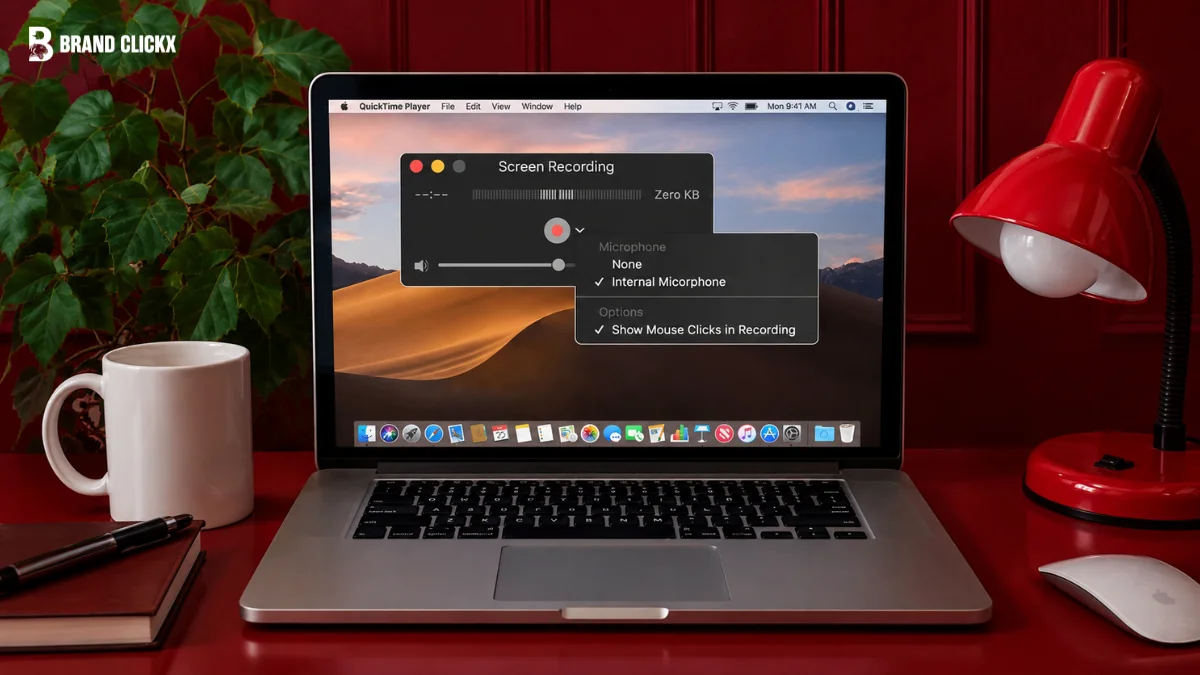
Quick Answer: How to Record Screen on Mac
The easiest way to learn how to record screen on Mac is to use the Screenshot tool.
Press Shift + Command + 5 to open the screen recording controls. Then choose either Record Entire Screen or Record Selected Portion, adjust the options if needed, and click Record.
When you are finished, click the Stop Recording button in the menu bar. You can also press Command + Control + Esc to stop the recording.
Your recording is normally saved as a .mov file, with the default save location being the Desktop unless you select another location.
Key Takeaways
- The quickest answer to how to record screen on Mac is Shift + Command + 5.
- A screenshot can record the entire screen or a selected area.
- You can choose a microphone for narration.
- Mouse clicks can be displayed to make tutorials easier to follow.
- A timer can give you time to prepare before recording begins.
- Recordings normally use the .mov format.
- The default save location is the Desktop unless you change it.
- Modern macOS versions include newer recording options, including selected-window recording on supported systems.
- Privacy and recording permissions can affect third-party apps.
- Some applications may restrict screen recording.
How to Record Screen on Mac Using Screenshot
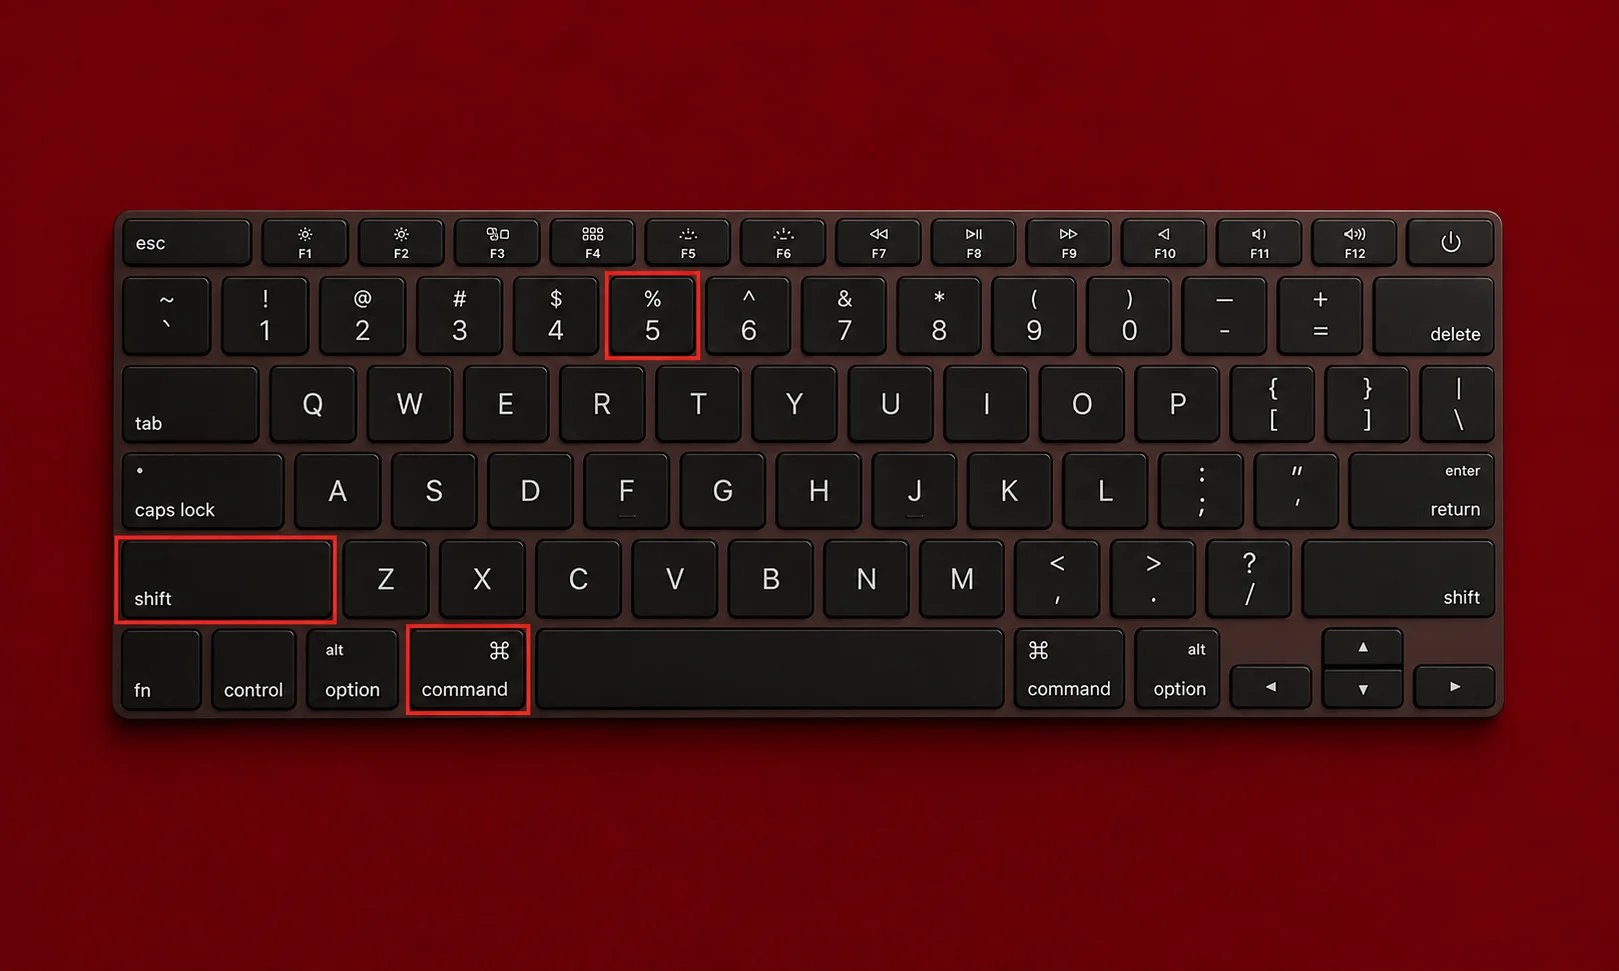
For most people, the Screenshot app is the simplest answer to how to record screen on Mac.
Apple has included screen recording through Screenshot on Macs running macOS Mojave 10.14 or later. The tool provides controls for recording the whole display or a selected portion.
Step 1: Open Screenshot
Press these three keys together:
Shift + Command + 5
A toolbar will appear near the bottom of your display.
This shortcut is the fastest way to start learning how to record screen on Mac because you do not have to open another application first.
Step 2: Choose a Recording Mode
The Screenshot toolbar provides recording choices.
You can select:
| Recording option | Best for |
|---|---|
| Record Entire Screen | Tutorials and presentations |
| Record Selected Portion | Recording one application or area |
| Record Selected Window | Capturing a particular window on supported newer macOS versions |
Apple’s current documentation notes that Record Selected Window is available in macOS Tahoe 26 or later.
Therefore, if you are wondering how to record screen on Mac without capturing everything on your desktop, recording a selected area can be particularly useful.
Step 3: Open Options
Before you begin, click Options.
Here you can choose where the recording will be saved, set a timer, select a microphone, and decide whether mouse clicks or the pointer should appear.
This is an important part of how to record screen on Mac because the right settings can make your final video much easier to understand.
Step 4: Start Recording
Choose your recording area and click Record.
If you selected the entire screen, macOS will begin capturing the display. If you selected a portion, only that area will be recorded.
Step 5: Stop the Recording
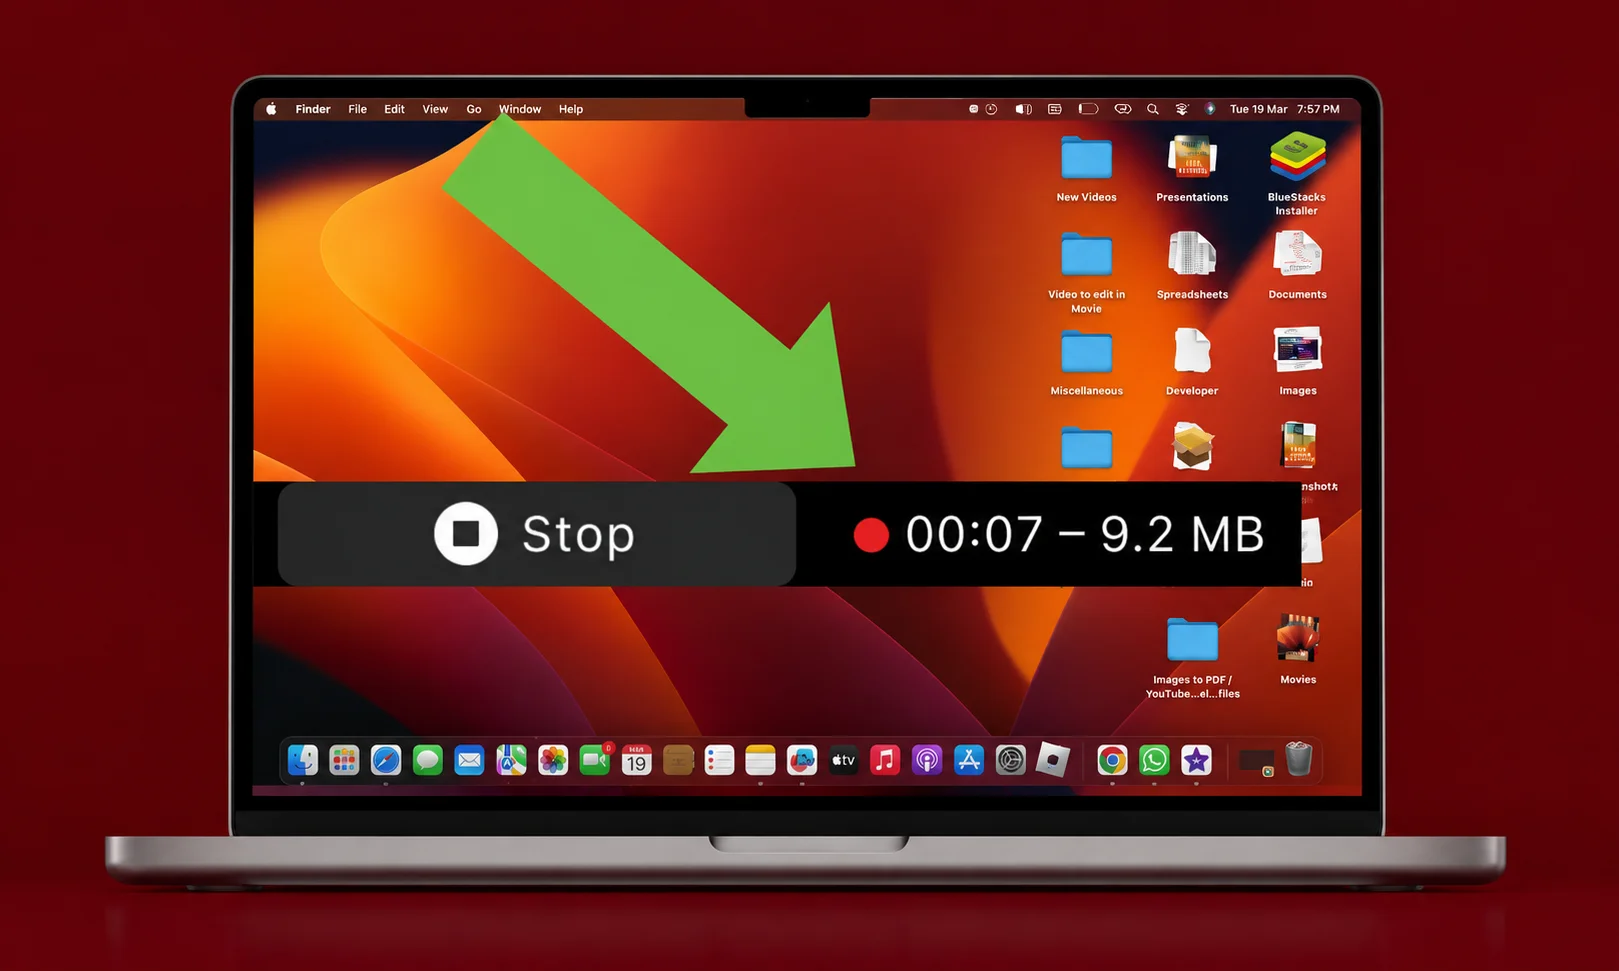
When you finish, click the Stop Recording button in the menu bar.
Alternatively, press:
Command + Control + Esc
The recording can then be opened, edited, shared, or saved depending on your workflow.
How to Record Part of the Screen on Mac
Sometimes recording the entire display is unnecessary. For example, you might only want to show a browser tab, application, presentation, or a specific section of your desktop.
In that situation, how to record screen on Mac becomes even easier.
Press Shift + Command + 5, select Record Selected Portion, and drag the borders around the area you want to capture.
Once the selection looks right, click Record.
This method keeps unrelated windows and desktop content outside the recording. As a result, the video can look cleaner and more professional.
How to Record Your Voice While Recording the Screen
A screen recording becomes much more useful when you can explain what viewers are seeing.
If you want to know how to record screen on Mac with your voice, open Screenshot using Shift + Command + 5.
Click Options, then look for the Microphone setting. Choose the microphone you want to use. If you do not want audio from the microphone, select None.
This works well for:
- Software tutorials
- Online lessons
- Presentation explanations
- Troubleshooting videos
- Product demonstrations
- Educational content
If your microphone does not work, check System Settings > Privacy & Security > Microphone and make sure the relevant application has permission. Apple recommends checking microphone permissions when an app cannot access an audio input.
How to Show Mouse Clicks in a Mac Screen Recording
When teaching someone how to use software, viewers may not always know where you clicked.
Fortunately, macOS can display mouse clicks during a recording.
Open Shift + Command + 5, select Options, and enable Show Mouse Clicks where available.
Apple describes this as a way to show a black circle around the pointer when you click.
This small feature can make tutorials considerably easier to follow.
How to Record Screen on Mac With a Timer
Starting a recording immediately is not always convenient.
You may need a few seconds to open an application, position a window, or prepare your presentation.
To use a timer, press Shift + Command + 5, click Options, and select the available timer duration.
After you click Record, the Mac waits for the selected period before beginning the recording.
This is one of the simplest tricks to remember when learning how to record screen on Mac professionally.
How to Record Screen on Mac With QuickTime Player
Another built-in method involves QuickTime Player.
Although newer macOS versions use Screenshot for the actual screen-recording controls, QuickTime Player can still provide access to screen recording.
Open QuickTime Player, choose File > New Screen Recording, or use:
Control + Command + N
On current macOS versions, this can open the Screenshot controls.
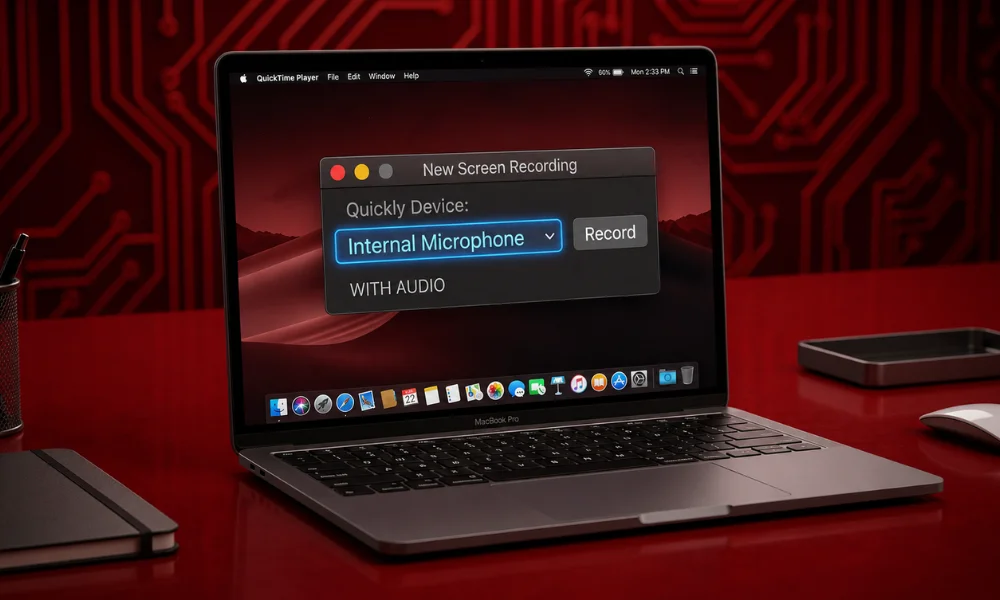
If an older QuickTime recording interface appears, you can select the microphone and other recording options before starting.
Then click Record and either click the screen to record everything or drag an area to record part of the display.
For users searching how to record screen on Mac through an older tutorial, this explains why QuickTime instructions may look different from the current Screenshot interface.
Screenshot vs QuickTime: Which Is Better?
Both methods can help you understand how to record screen on Mac, but Screenshot is generally the more direct choice on modern macOS.
| Feature | Screenshot | QuickTime Player |
| Full-screen recording | Yes | Yes |
| Selected area | Yes | Yes |
| Microphone | Yes | Yes |
| Mouse click display | Yes | Yes |
| Timer | Yes | Depends on interface |
| Easy shortcut | Shift + Command + 5 | Control + Command + N |
| Best for modern macOS | Yes | Useful alternative |
For a quick recording, Screenshot is usually the better starting point because the controls are immediately available from the keyboard.
How to Record Screen on Mac in macOS Tahoe
Apple’s newer macOS releases have introduced additional recording choices.
Apple’s current support documentation states that Record Selected Window is available in macOS Tahoe 26 or later. On supported Mac models, macOS Tahoe can also provide SDR and HDR capture options. SDR uses H.264 as the most compatible option, while HDR uses HEVC for high dynamic range recording.
This matters if you are creating high-quality demonstrations or working with modern displays.
However, compatibility can depend on the Mac and software version, so do not assume every recording option will appear on every device.
Where Does a Mac Screen Recording Save?
By default, screen recordings are saved to the Desktop.
However, you can change the location before recording.
Press Shift + Command + 5, choose Options, and select a different location under Save To. Apple also allows you to choose another location through the available save options.
Mac screen recordings are saved in .mov format. The default filename starts with Screen Recording followed by the date and time.
Why Is My Mac Screen Recording Not Working?
If you have followed the steps for how to record screen on Mac but nothing works, check a few basic settings.
First, make sure you are using the correct shortcut:
Shift + Command + 5
If a third-party application needs access to your screen or system audio, open:
Apple menu > System Settings > Privacy & Security > Screen & System Audio Recording
From there, you can control which applications have permission to record the screen and audio.
For microphone problems, check the Microphone section under Privacy & Security as well.
Some Apps May Block Recording
Not every application allows its content to be captured.
Apple notes that some apps, including the Apple TV app, may not allow their windows to be recorded.
So, if how to record screen on Mac works everywhere except one particular application, the problem may be related to that application’s recording restrictions rather than your Mac.
How to Make Better Mac Screen Recordings
Knowing how to record screen on Mac is only the first step. A few simple habits can make your videos much better.
Clean Your Desktop
Before recording, close unnecessary windows and remove private information from view.
A clean desktop makes the final video easier to watch and prevents accidental exposure of personal files.
Record Only What You Need
Instead of recording the whole display, use Record Selected Portion when possible.
This keeps attention on the important content.
Use a Microphone for Tutorials
If you are explaining something, clear narration can make the recording more useful than a silent video.
Test your microphone before recording the entire tutorial.
Use Mouse Clicks When Teaching
Showing clicks helps viewers understand exactly where they should interact with an application.
However, avoid enabling unnecessary visual effects when recording a professional presentation.
Leave Enough Storage
Screen recordings can take up considerable storage space, especially when recording for longer periods or using higher-quality settings.
Check available storage before starting an important recording.
Common Mistakes to Avoid
When learning how to record screen on Mac, beginners often make a few avoidable mistakes.
Recording the wrong area: Check the selected region before pressing Record.
Forgetting the microphone: If narration is important, verify the microphone setting first.
Leaving notifications visible: Turn off unnecessary notifications before recording.
Recording private information: Hide passwords, personal messages, account details, and sensitive documents.
Forgetting to stop: Keep an eye on the menu bar so you know when recording is active.
Ignoring permissions: If recording or audio does not work, review the relevant Privacy & Security settings.
A Simple Mac Screen Recording Checklist
Before you record, quickly check:
- Open Screenshot with Shift + Command + 5
- Choose full screen or selected portion
- Select the microphone if narration is required
- Enable mouse clicks if useful
- Set a timer if necessary
- Choose the correct save location
- Close unnecessary windows
- Hide private information
- Check your available storage
- Start recording
- Stop using the menu bar button or Command + Control + Esc
Conclusion
Learning how to record screen on Mac is much easier than it may seem. For most users, pressing Shift + Command + 5 is all it takes to open the built-in Screenshot controls and start recording.
You can capture the entire display, select a specific area, add your voice, show mouse clicks, use a timer, and choose where the finished video is saved. Modern macOS versions also offer additional recording choices on supported Macs.
Whether you are making a tutorial, explaining a problem, recording a presentation, or simply saving something useful from your screen, the built-in tools provide a practical starting point. For more helpful Mac, technology, and software guides, explore Brandclickx.
Frequently Asked Questions
Can I record my Mac screen without installing an app?
Yes. macOS includes built-in screen recording through Screenshot, so you normally do not need third-party software for basic recordings.
What is the shortcut for recording the screen on Mac?
Press Shift + Command + 5 to open the Screenshot controls. From there, select the screen recording option you need.
Can I record only part of my Mac screen?
Yes. Select Record Selected Portion and adjust the recording frame before starting.
Can I record my voice with the screen?
Yes. Open the Screenshot options and select a microphone before recording.
Where are Mac screen recordings saved?
They are saved to the location selected under Options > Save To. The Desktop is the default location.
What format does Mac use for screen recordings?
Mac screen recordings are saved as .mov files by default.
How do I stop a screen recording on Mac?
Click the Stop Recording button in the menu bar. You can also press Command + Control + Esc.
Can I show where I click?
Yes. The Screenshot options can display mouse clicks during a recording.
Why can’t I record a particular app?
Some applications restrict screen recording. Apple specifically notes that certain apps, such as Apple TV, may not allow their windows to be recorded.
Do I need QuickTime Player?
No. A screenshot is the easiest built-in method on modern macOS. QuickTime Player can still provide access to screen-recording controls and remains useful for working with recordings.